Starting horseback riding lessons might seem a little intimidating if you’ve never spent much time around barns or farm animals. Love horses but not sure what to expect? In this guide we’ll cover exactly what you’ll learn to do in your first riding lesson. And, why you don’t need to be nervous.
So, what will you learn during your first riding lesson? Generally speaking, you will learn how to groom and tack up the horse properly. Next you’ll learn how to lead the horse safely to the arena. Then, you’ll learn how to mount. Your first lesson will focus on stopping and steering at the walk. Lastly, you’ll learn how to dismount and untack the horse.
Now, let’s go into a little more detail about each step of a beginner riding lesson. In this article we’ll stick specifically to the skills that will be covered. If you’re wondering what you need to bring and what to wear, check this article! I wrote a whole post about what to expect at your first lesson.
Grooming The Horse
One of the basics of horsemanship is grooming. Not only is it an important skill, riders of all ages can learn how to groom. So if your child is starting lessons and is only 3 or 4 years old they’ll still be able to participate in this step. There are many grooming tools which your instructor will teach you how to use correctly.
- Curry Comb
- Hard Brush
- Soft Brush
- Hoof Pick
- Mane & Tail Brush
The curry comb is used in a circular motion and lifts dirt up off of the horse’s skin.
Next, the hard brush is used in short flicking motions in the direction the hair grows. This removes dirt and debris. Then you’ll use a soft brush in longer smooth motions in the direction the hair grows to polish the coat.
Once your horse is brushed, your instructor will teach you how to pick the horse’s hooves. This takes a lot of practice and you will need some help when you’re first starting out.
Lastly, your instructor may have you brush the horse’s mane and tail.
To learn more about how to groom properly and why grooming is so important, check out this article: Daily Grooming Routine Your Horse Will Love. And if you’re nervous about learning to pick the horse’s hooves, check out this step by step guide on how to pick your horse’s hooves correctly and safely.
Tacking Up To Ride
Now that the horse is clean, it’s time to learn how to tack up. It’s important to do a good job grooming because you never want to put tack on the horse while they’re dirty. Doing this can lead to discomfort, sores and skin problems.
Tack refers to the equipment you’ll use to ride such as your saddle and bridle. Your instructor will help you put the saddle pad on the horse and position it properly.
Then your instructor will help you lift and place your saddle onto the horse and tighten the girth correctly. Once your horse is saddled, your horse may need to wear some protective boots or leg wraps on it’s legs. Then, it’s time to put the bridle on.
Putting the bridle on correctly is important because the bit sits in the horse’s mouth and will help you learn to control the horse. Be careful not to hit the horse’s teeth when bridling him as that could really hurt him. Just imagine a piece of metal hitting your teeth, ouch!
Learning to tack up properly will take you several lessons and can be a bit overwhelming. That’s why I’ve written a step by step guide to tacking up English and another for tacking up Western.
If your child is starting lessons they may or may not be able to assist the instructor with tacking up. Some of the equipment is heavy and your child may not be able to reach.
However, the instructor should still explain what they’re doing and how the equipment is used.
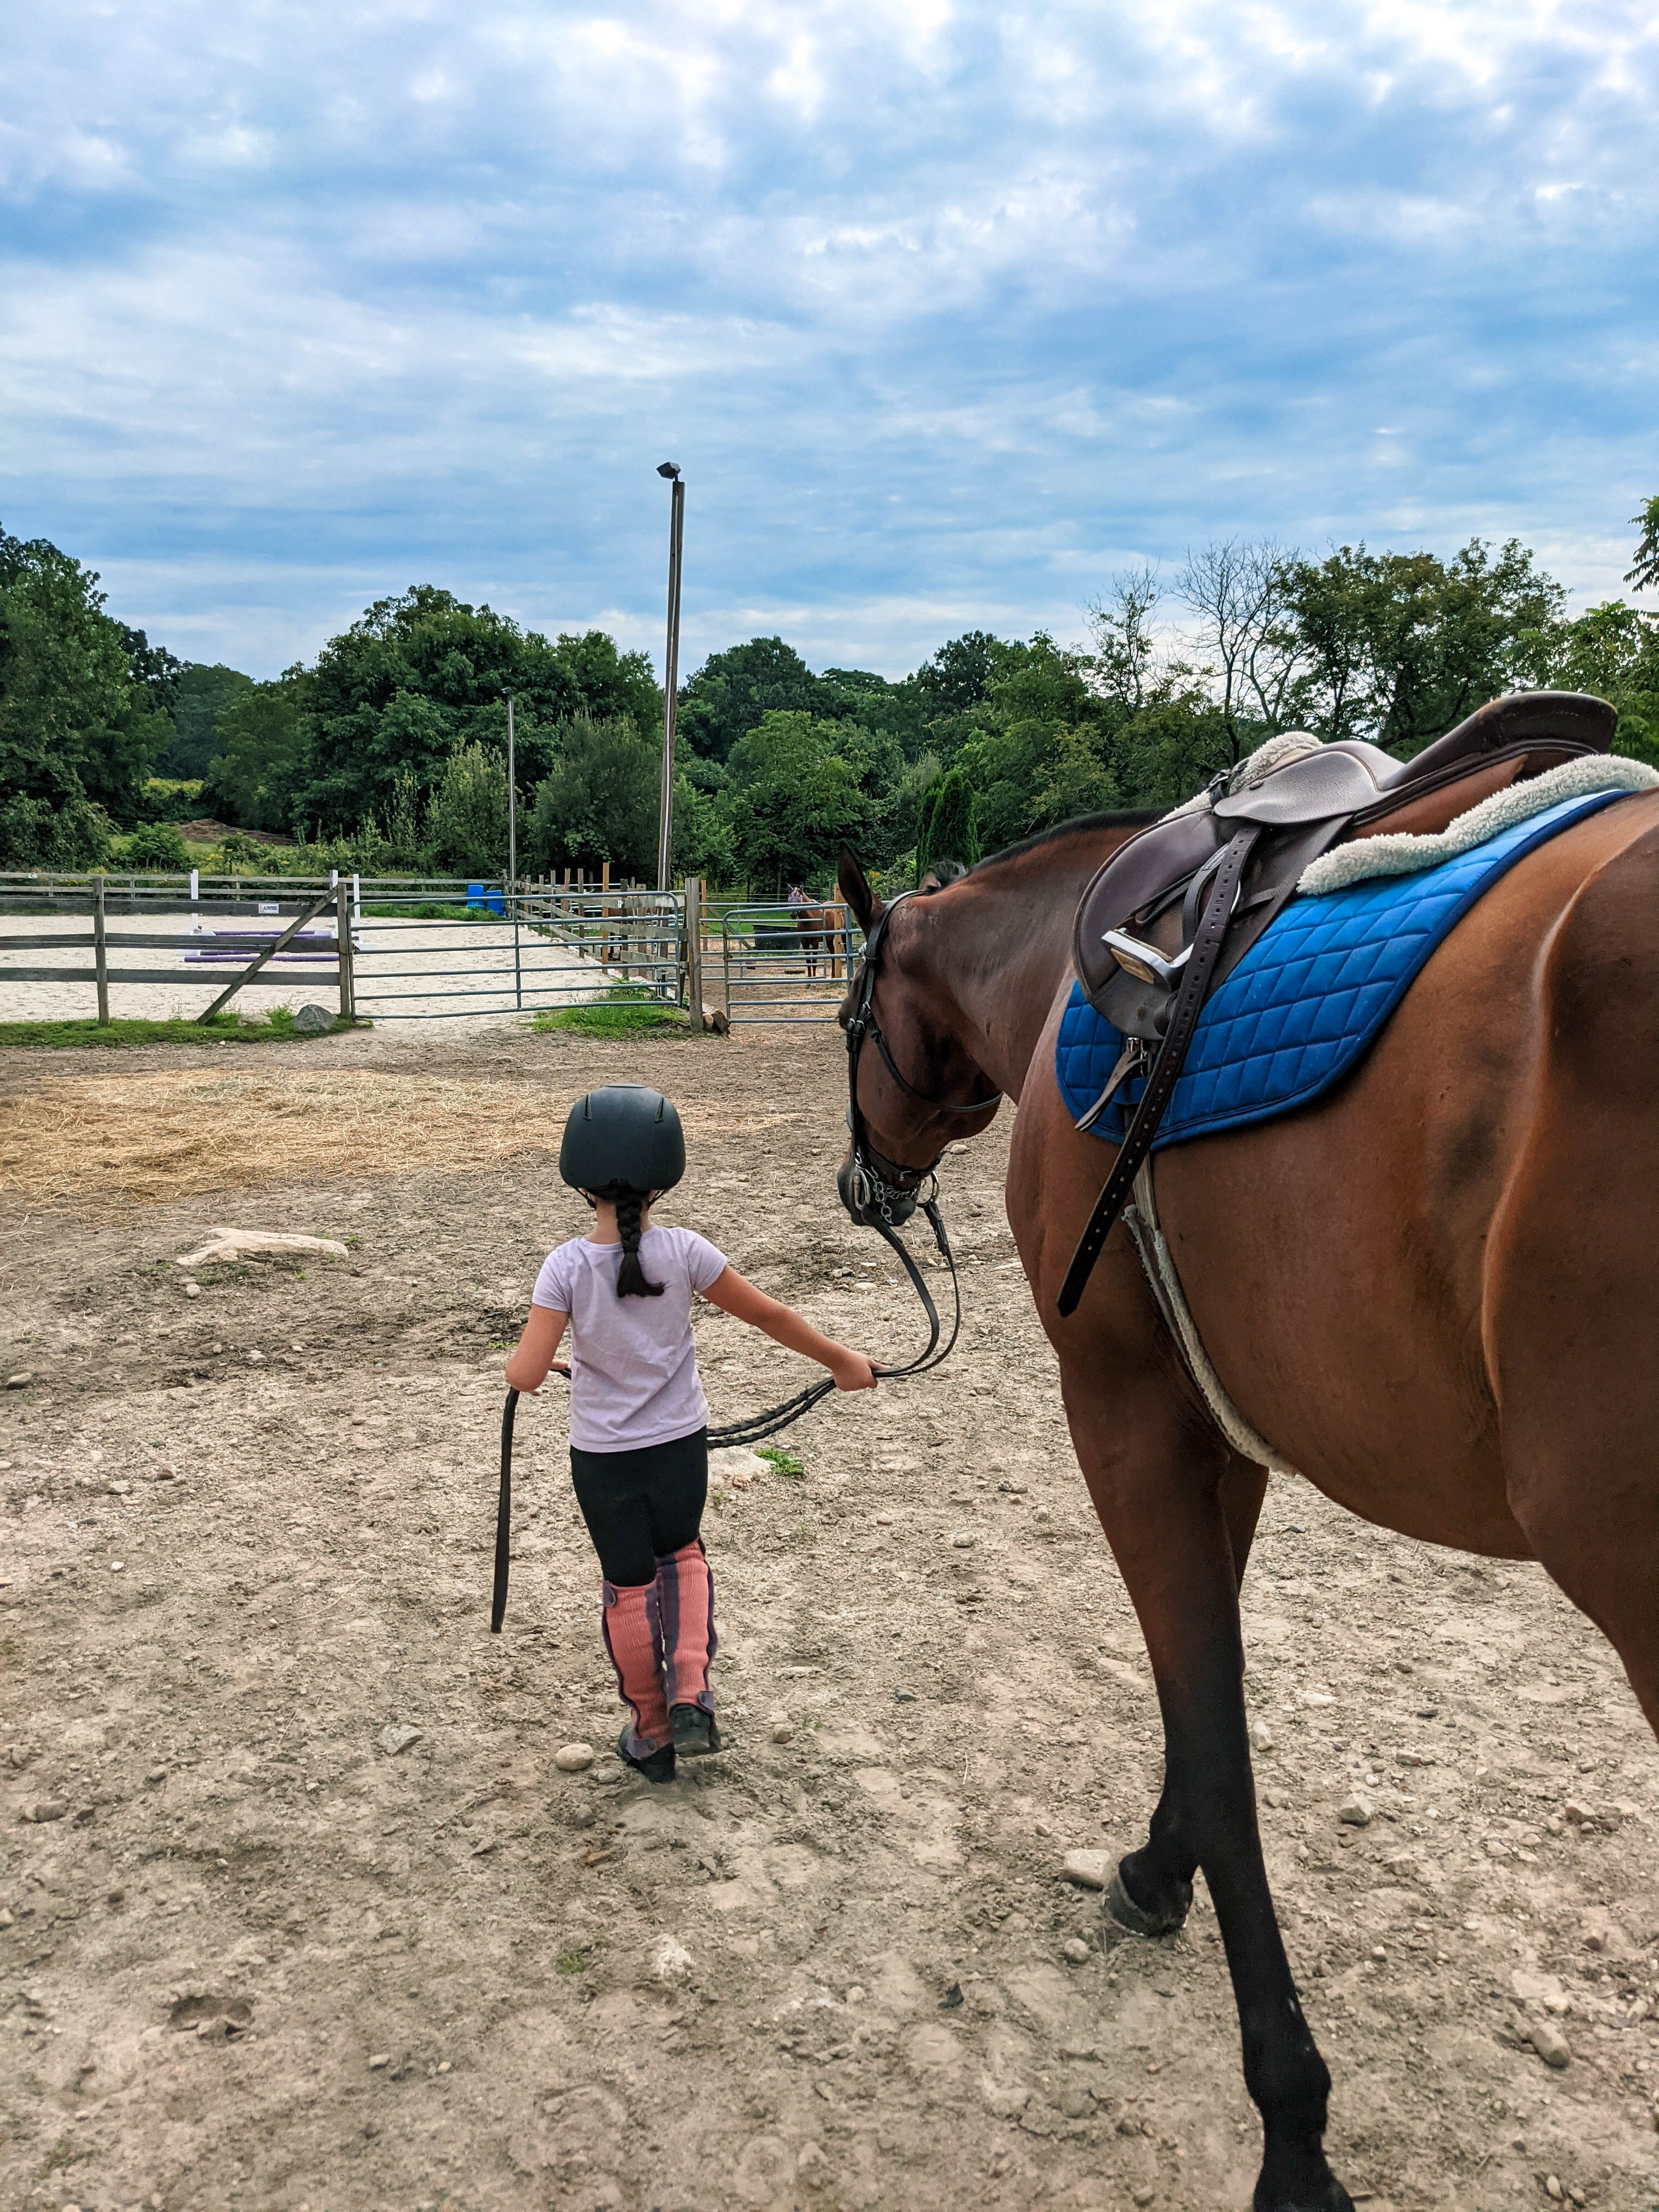
Leading The Horse For The First Time
The next skill you’ll learn at your first riding lesson is how to lead a horse correctly. You should always lead the horse from the horse’s left side. Be careful to never let the lead line get wrapped around your hand. If the horse were to spook and pull it could get stuck. This could do severe damage to your hand and you could get dragged. Use two hands on the lead rope with your right hand closer to the horse’s head, about 4 to 6 inches down the rope. Hold the loose end in your left hand and don’t let the rope drag on the ground.
When you want to go forward, look ahead not back at the horse and start to walk. You can let the horse know you’re about to walk by giving a little cluck and moving your right hand forwards slightly. Looking back towards the horse will let the horse know you want to stop even though you want to go.
When you want to stop, give the verbal command, “whoa.”
Then, gently pull on the lead rope and stop your feet.
Many people stop walking before queuing the horse to stop which is dangerous and could result in you getting stepped on.
It’s also important to walk with the horse’s head at about your shoulder. If you walk behind the horse’s head and close to his shoulder he may drag you and possibly step on you.
If walk too far ahead of the horse you’ll be pulling him along and he may become confused. Also, walking too far ahead of a horse puts you in a position to get nipped. Staying safely in the correct position will help you be aware of what the horse is doing and keep control of him.
When you’re first learning to lead the horse your instructor will help you. She may even hold onto the horse from the other side.
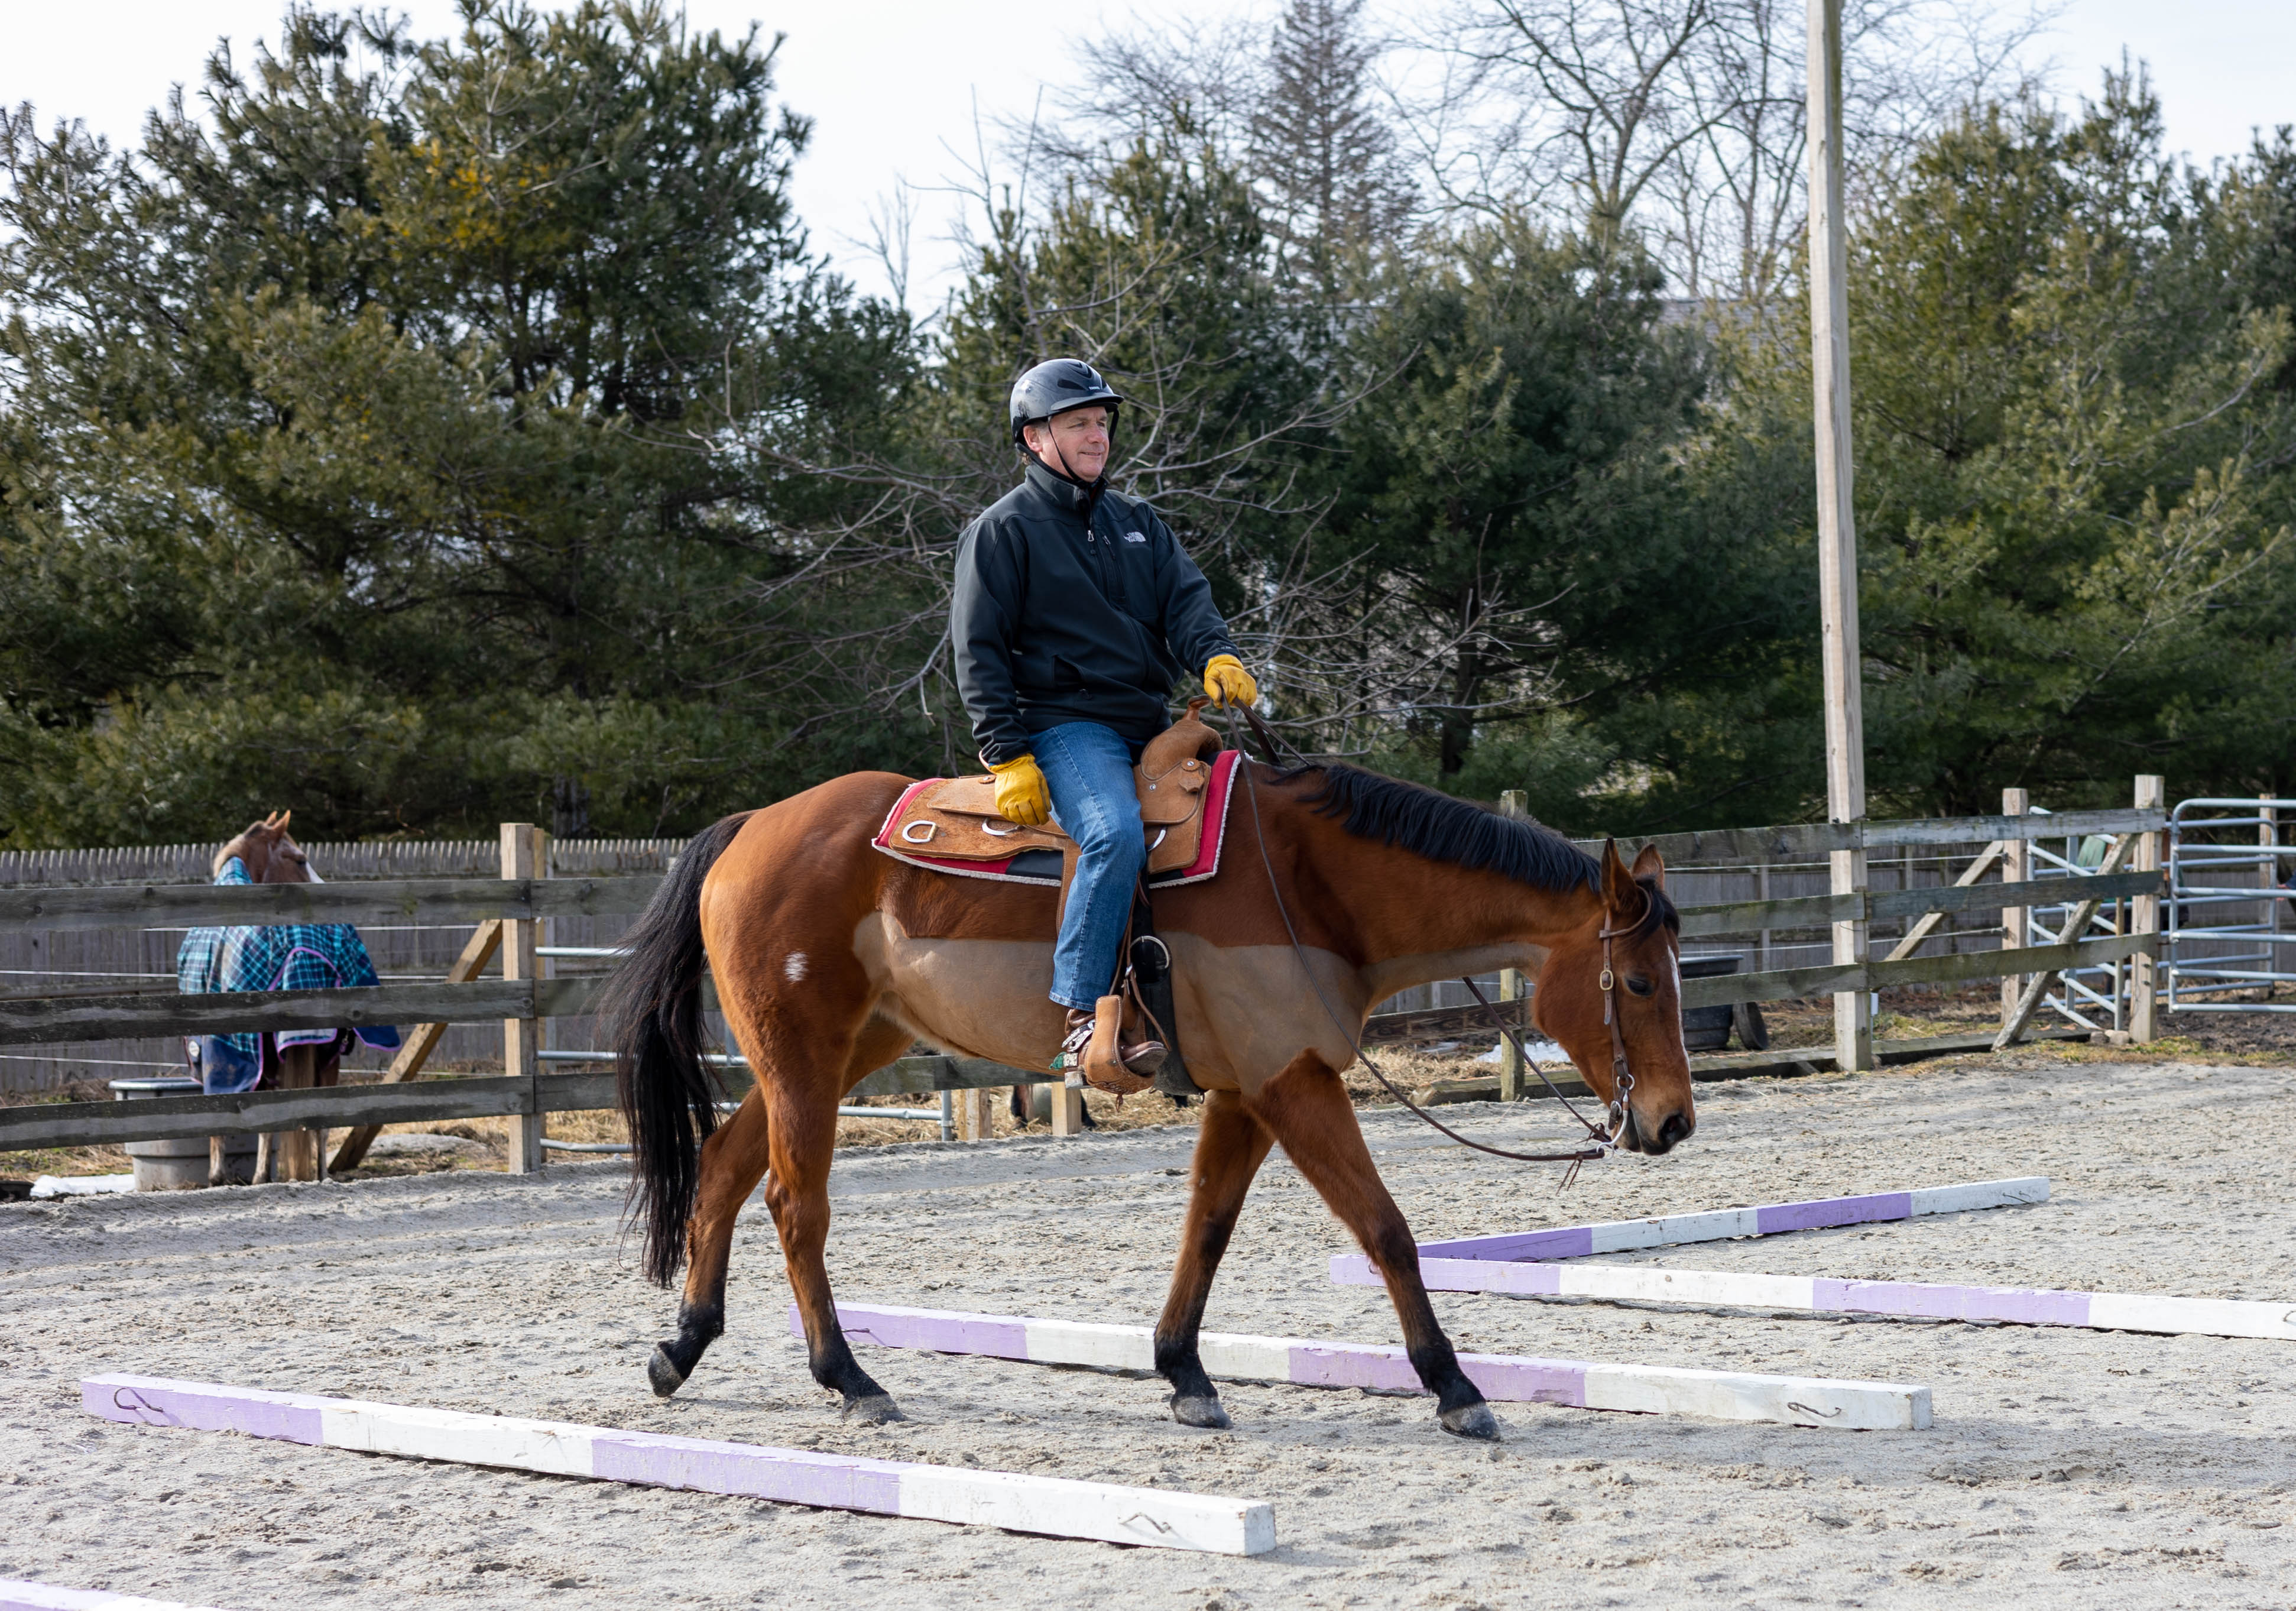
Mounting The Horse
Now that your horse is tacked up and you’ve led him to the arena, it’s time to ride!
Your instructor will most likely have you use a mounting block. Even if you are tall enough to mount from the ground, this is best practice. Using a stool is better for the horse’s back.
And, often times lesson horses get ridden multiple times per day. Thus, the instructor will want to reduce wear and tear on the horse. First, your instructor will check the girth to make sure your saddle won’t move.
From the horse’s left side, you’ll first place the reins over the horse’s neck.
Next, you will hold the reins while stepping up onto the mounting block. Your instructor will help you adjust the reins to the appropriate length and you’ll hold them in your left hand.
Then, you’ll put your left hand on the horse’s withers and your right hand on the cantle (back of the seat) on the saddle. Place your left foot into the stirrup, then standing on your left foot, swing your right leg over the horse.
Be careful not to hit the horse in the rump with your right foot. Also, do not try to climb into the saddle with your foot going over the seat. Your right leg should swing behind and above the saddle. Then, sit down gently. Try to avoid losing your balance and falling onto the horse’s back when you mount.
While you mount up for your first lesson your instructor will likely hold on to the reins and help you mount. Be sure to follow your instructors directions while mounting so they can keep you out of danger.
Adjusting Your Stirrups And Holding The Reins
Once you’re on the horse, your instructor will adjust your stirrups to the appropriate length. She will also check to make sure they are even.
Eventually you’ll be able to adjust your own stirrups correctly based on your height and the discipline you ride. This is something you probably will not learn at your first riding lesson.
During your lesson you’ll learn how to hold the reins correctly. This is important so that they do not become tangled or slide out of your hands. You’ll also need to hold them the correct length for the horse you are riding depending on their size and preference.
You may find that you need to fix your reins and hand position regularly throughout your ride. Your instructor will probably place the reins in your hands and give you a marker to identify if the length has changed.
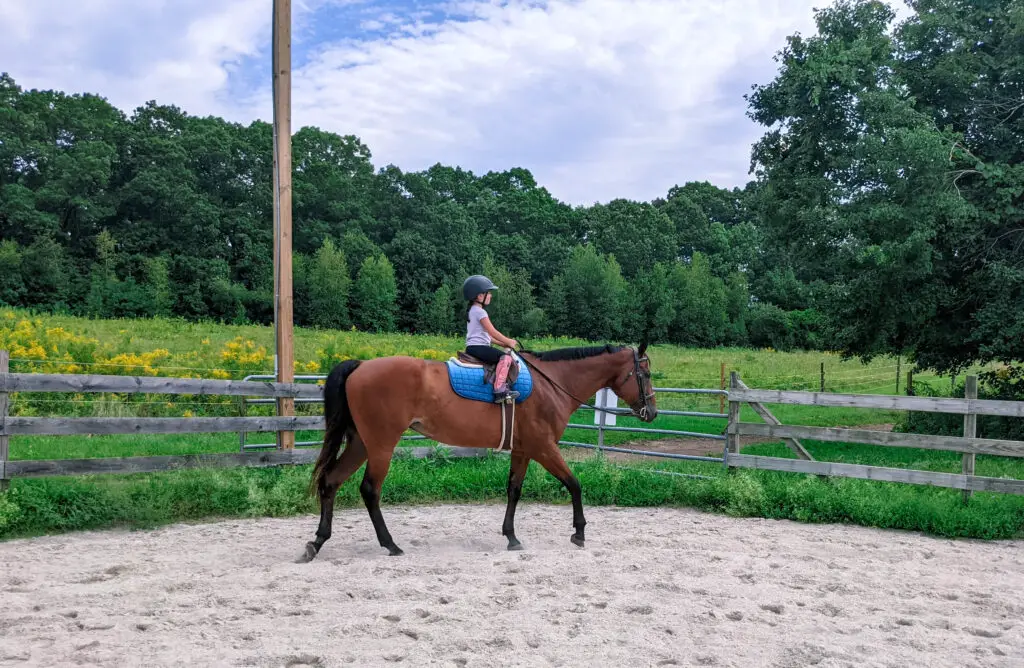
Balance & Position In The Saddle
Once you’re comfortable in the saddle, the next thing you’ll learn at your first riding lesson is how to sit properly. Your instructor will position your leg with your calf underneath you and your heel down for security.
Keeping your heels down is extremely important and a crucial skill to master when learning to ride.
They’ll show you how to hold your hands in front of the saddle to avoid pulling on the horse’s mouth. And, your instructor will encourage you to sit up straight and look where you are going.
Looking down at the horse can prevent you from being able to balance properly and may cause you to lean and grip the horse with your legs.
Your legs are used to cue the horse so you don’t want to squeeze your legs or kick your feet unintentionally.
After your instructor has explained how to sit properly, try your best to maintain this position throughout the lesson. But, don’t be too rigid! A rider needs to have the ability to move instead of fighting the horse’s motion.
It will take many hours in the saddle to learn how to maintain your position. To cue the horse effectively and keep your body relaxed at the same time is a challenge.
Learning About Your Aids
Now that you are sitting in the right position, your instructor will show you the basic aids for riding the horse.
Aids are the riders body and equipment that are used to signal to the horse what you’d like them to do. Your seat is an aid which helps you to stay in the saddle. It can also signal to the horse if you want to stop or go or for advanced riders, ask for something more complicated.
Your legs and hands are also aids that let the horse know if you want to stop or go and to go in the direction you want.
Artificial aids include spurs and a crop which you most likely will not need to use in your first lesson. During the first lesson your instructor will help you make the horse go.
Often times, unbalanced beginner riders have difficulty getting the horse to move forward. This can be for multiple reasons, usually they do not ask the horse correctly since they are still learning. And, the second reason is that horses can sense when the rider is new or nervous.
Seasoned lesson horses sometimes wait for direction from the instructor and ignore the rider. Try not to let this frustrate you, at the end of the day, your lesson horse is being a good teacher.
Steering & Stopping The Horse
Now that you have a basic understanding of the aids, your instructor will teach you how to use your aids to go, stop and steer.
You may practice walking a few steps at a time and stopping several times before moving on to something else. Being able to stop is the most important skill to learn under saddle and probably the most important skill you will learn at your first riding lesson.
As a new rider you will not have the balance to keep the horse under control while going fast. And thus, if you feel insecure, you need to be able to stop to prevent a fall.
Next, your instructor will teach you how to steer the horse. You will use the reins and your body differently to steer than you do to stop.
You may notice that while you are learning to steer the horse continually tries to stop. This stems from a lack of balance and timing of the aids.
Frequently, beginner riders pull back on the reins when they actually intended to guide the horse in a certain direction. Learning to steer takes practice, but try to avoid dragging the horse around and crossing your reins over to the incorrect side of the horse’s neck.
You will learn how to use an opening rein or a direct rein to steer and to use your feet and legs to keep the horse moving while steering. You will try out steering exercises like circling, changing directions and weaving cones.
Riding On Lead or Lunge Line
If this is your first time on a horse the instructor will keep the horse on a lead line or a lunge line for all or part of the lesson. A lunge line is just a longer rope that allows you to ride further away from the instructor. This way the instructor can keep control of the horse until you get a feel for riding.
It is common for beginners, both children and adults to ride on a lead or lunge line for the first few lessons.
At the beginning your instructor may walk right next to you, lead the horse and change your position. As you become more confident and independent, your instructor may have you ride on the lunge line.
Once you graduate to riding on the lunge line the instructor will be able to help keep the horse on a circle. But, you’ll be able to practice controlling the horse and improving your balance.
Usually a rider will learn how to steer and stop on a lead or lunge line and practice several times before being allowed to ride on their own.
And it’s not uncommon for a rider to go back to riding on the lunge line each time they learn a new skill until they can confidently walk, trot, canter, stop and back the horse independently.
Dismounting From The Horse
Once the riding portion of your lesson has concluded, your instructor will teach you how to safely dismount from the horse.
This is sometimes intimidating for new riders and a very important skill to master. A couple of important points about dismounting which you will learn at your first riding lesson are as follows:
- Hold the reins while you dismount
- Do not dismount onto the stool or mounting block
- Take both feet out of the stirrups
Your instructor will teach you how to swing your right leg over the horse, then hold the saddle with both hands and slide down slowly until your feet hit the ground.
You never want to dismount with your left foot still in the stirrup because if the horse were to walk or run away your foot could get caught and you could be dragged. It’s also very important to hold the reins while you dismount in order to keep the horse from walking away.
Lastly, never ever dismount onto the mounting block as it could tip over and spook the horse and you could fall. You should always dismount onto the ground.
Untacking The Horse
Another thing you’ll learn at your first riding lesson is how to untack the horse properly and put him away.
Your instructor will teach you how to remove your tack properly. Learning how to undo and remove your tack will help you understand how the tack is put on. And, it’ll make learning to tack up easier.
First your instructor will teach you how to undo and remove the bridle from the horse. Then, they’ll help you put a halter on the horse and clip him to the cross ties or a tie in his stall. Next, you’ll undo the girth and remove the saddle. If your horse wore any protective boots or leg wraps you’ll learn how to take those off too.
Once the tack is off of the horse he will need to be groomed again.
Once the horse has been groomed he will need to have either the appropriate blanket(s), sheet, fly mask that he was wearing before your lesson put back on.
Then, your instructor may allow you to give the horse a treat. Like I mentioned in another article about keeping kids safe in the barn, do not feed the horse without permission. And, it’s never a good idea to hand feed the horse. Your instructor may show you how to do this safely or they may have you put the treat in a feed bucket.
Next, your horse will either be turned out or returned to his stall.
Once the horse is taken care of it will be time to put away all of your tack and equipment in the appropriate place.
You’ll also need to clean up any manure or hoof droppings before you leave. Don’t forget to pay for your lesson and schedule your next one!
I hope you found this article about what you’ll learn at your first riding lesson helpful! I you did, please give it a share!
If you are considering riding lessons but have not yet found an instructor, check out this guide to choosing a quality riding instructor that will fit your needs!
Recent Posts
As horse owners we want to provide the best possible care for our horses. And, sometimes our idea of what is best for the horse may not be what the horse wants. When it comes to turnout there tend to...
Thinking about buying a horse? In this article we'll discuss the seven reasons you need to do a pre-purchase exam before you seal the deal. If your heart is telling you that you've found the right...