Can’t get your bands to lay down nicely? Braids look uneven? Or you just want to tidy up your horse so he looks his best? Check out these tips for pulling your horse’s mane like a pro. It’s easier than you think and just takes a bit of practice!
What Is Mane Pulling?
Let’s start with the basics, what on earth is mane pulling? Well, mane pulling is exactly what it sounds like. Pulling out some hair in the horse’s mane.
If you have long hair you might be thinking back to your child hood and a sibling pulling your hair and cringing. Or you might be thinking of getting your hair stuck in a hat or shirt and also cringing.
But don’t worry, if done right, pulling your horse’s mane won’t bother him. Pulling the mane is a technique used to thin out thick areas of the mane in order to create one even layer from top to bottom.
Why Should I Pull My Horse’s Mane?
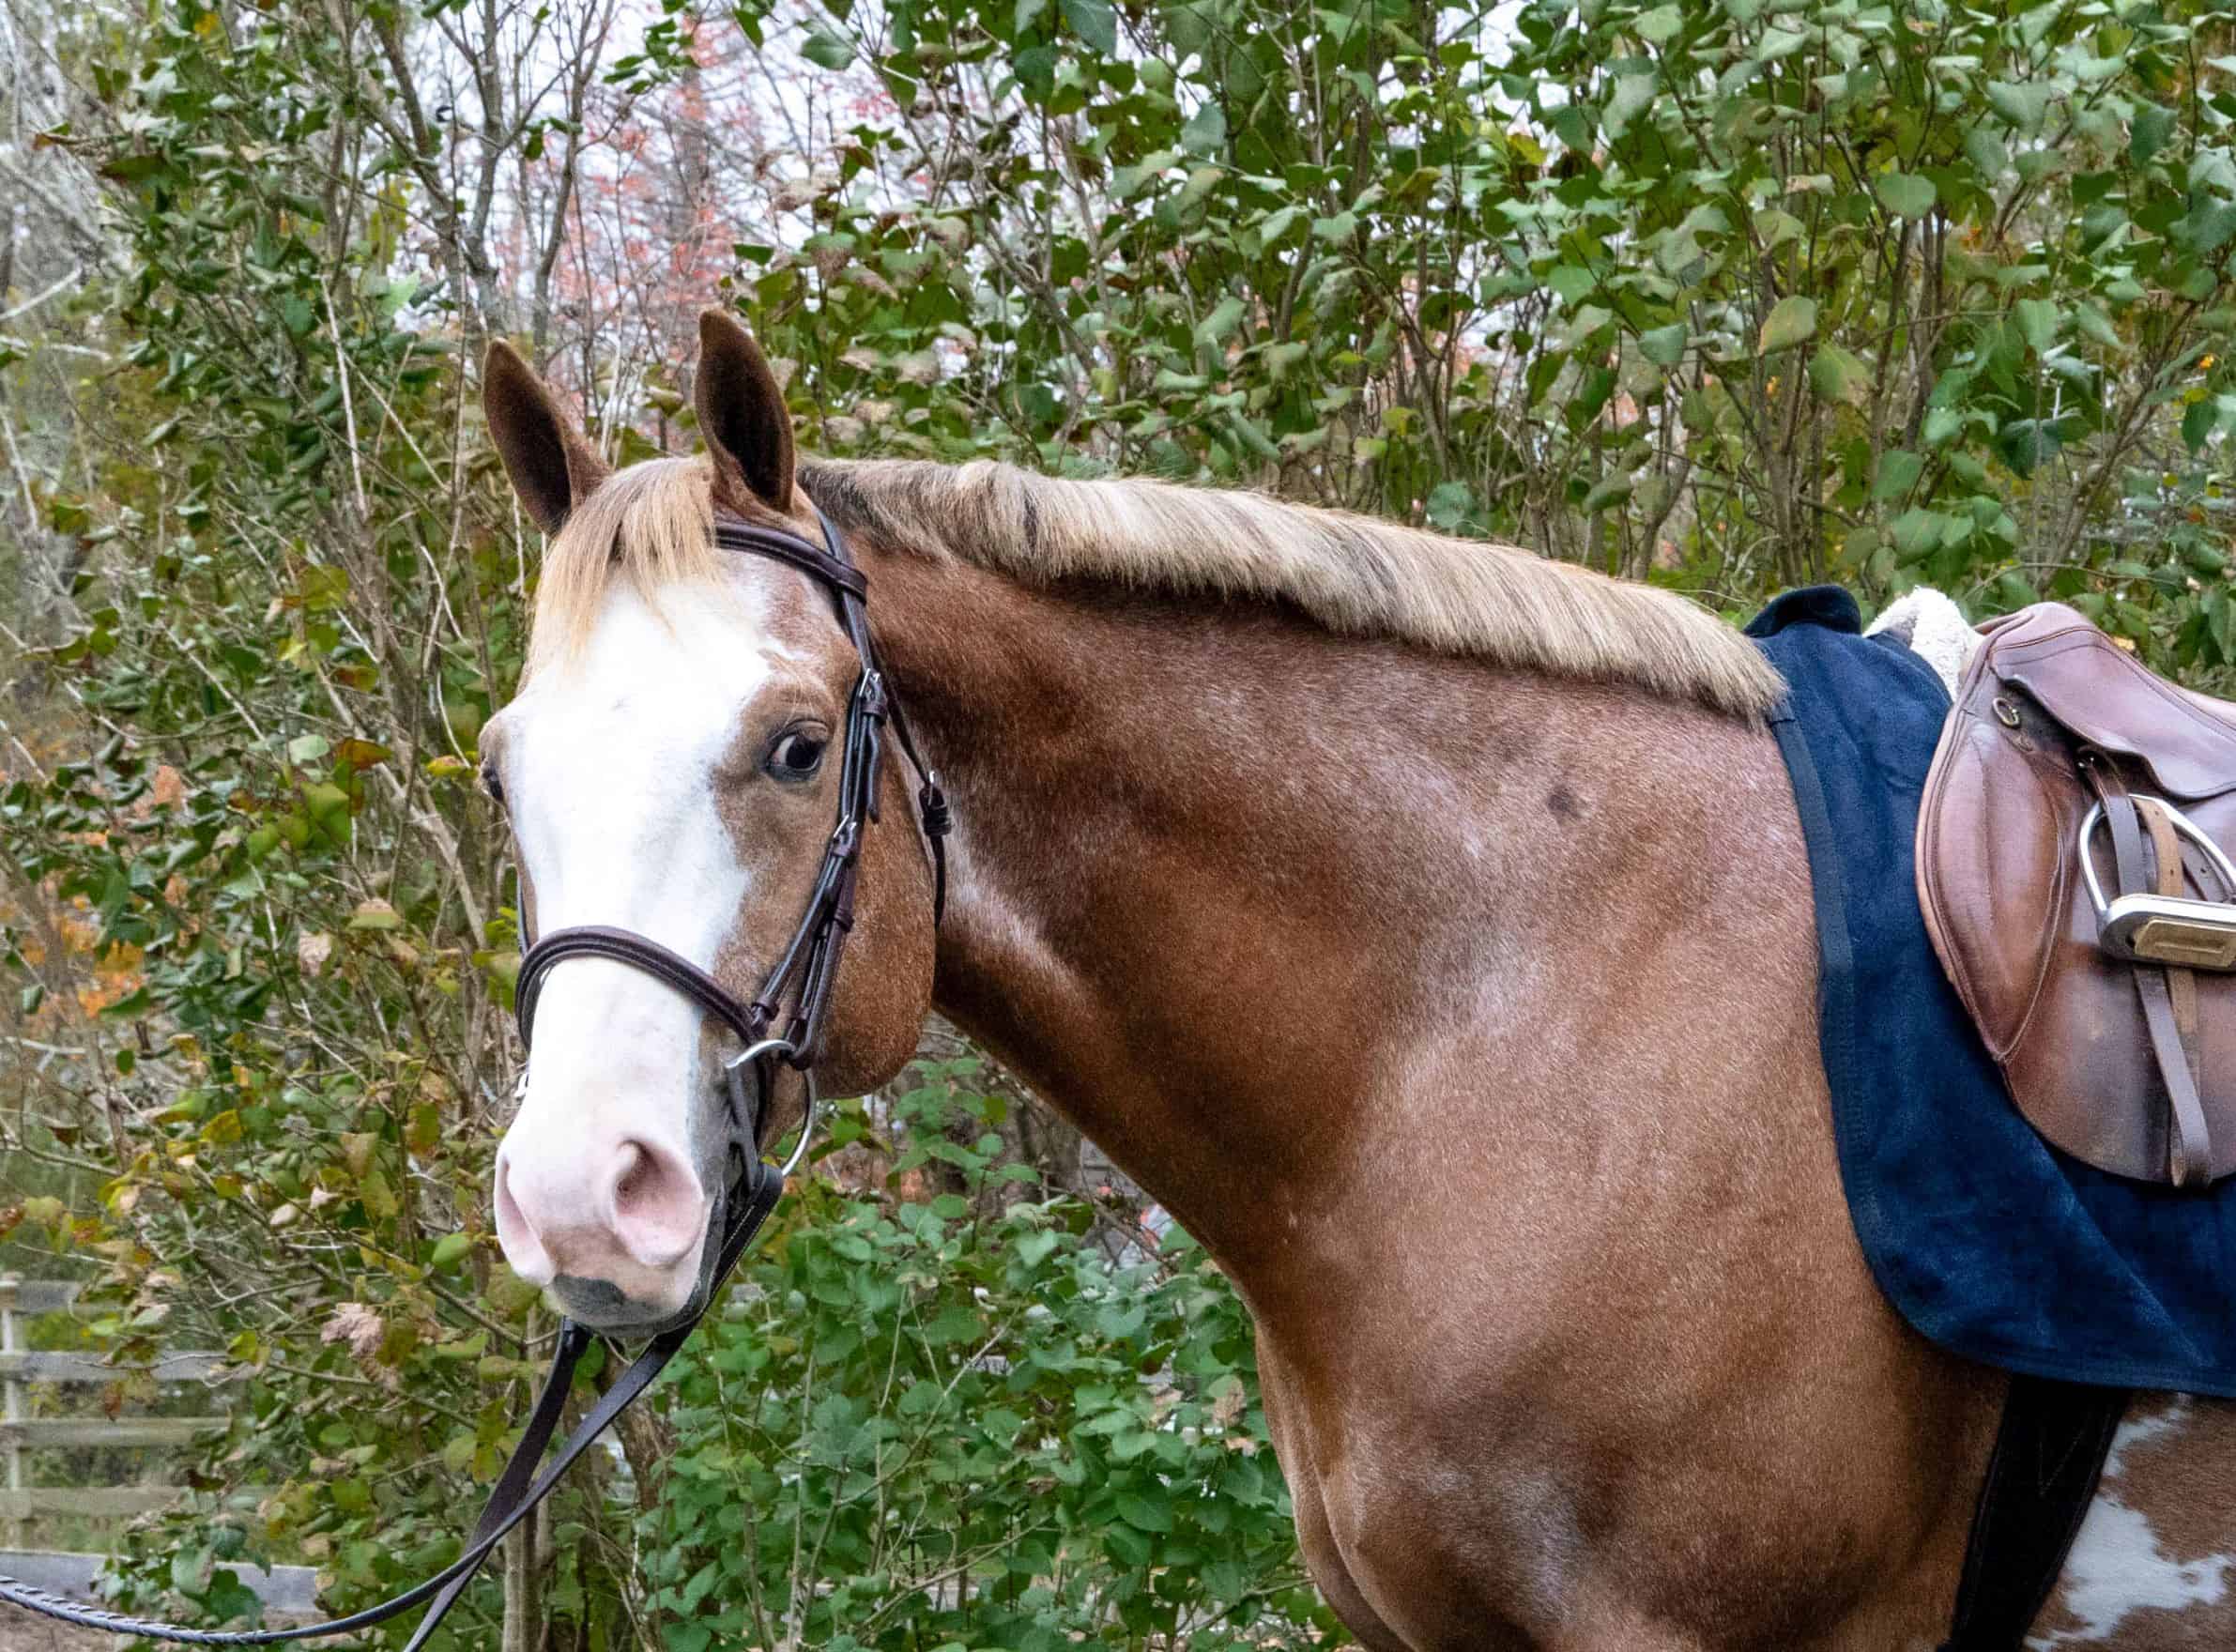
If you don’t plan to show your horse or like the look of a long mane, then, no need to pull your horse’s mane! However, if you plan to braid or band your horse’s mane you’ll need the hair to be an even thickness and length from the end of the bridle path to the withers. Keeping the mane the right thickness will help make sure your braids or bands are even and bands lay flat against the horse’s neck.
The whole point of mane pulling as opposed to other methods of shortening a horse’s mane is to make it look natural. The end result is a neat and tidy mane that looks natural at the same time.
Does It Hurt?
If done correctly, puling your horse’s mane shouldn’t hurt him. If you pull sections of hair that are too large you may irritate your horse. The best way to avoid hurting your horse is to pull small sections of hair at a time as outlined in the steps below and to do a little at a time. If your horse doesn’t like it, you can do a little at a time over the course of a few days to avoid upsetting him.
On that note, if you have a show coming up and you know your horse is sensitive about having his mane done, then plan ahead!
I like to pull my horses’ manes in the spring over the course of a few days. Then, I just do a bit of maintenance as needed over the summer. That way when prepping for a show, I may only have to pull a little bit to have the mane looking it’s best.
Tools Needed
Here are the tools I use when pulling my horses’ manes.
This post may contain affiliate links which means that I may earn a small commission at no extra cost to you. As an Amazon Associate I earn from qualifying purchases.


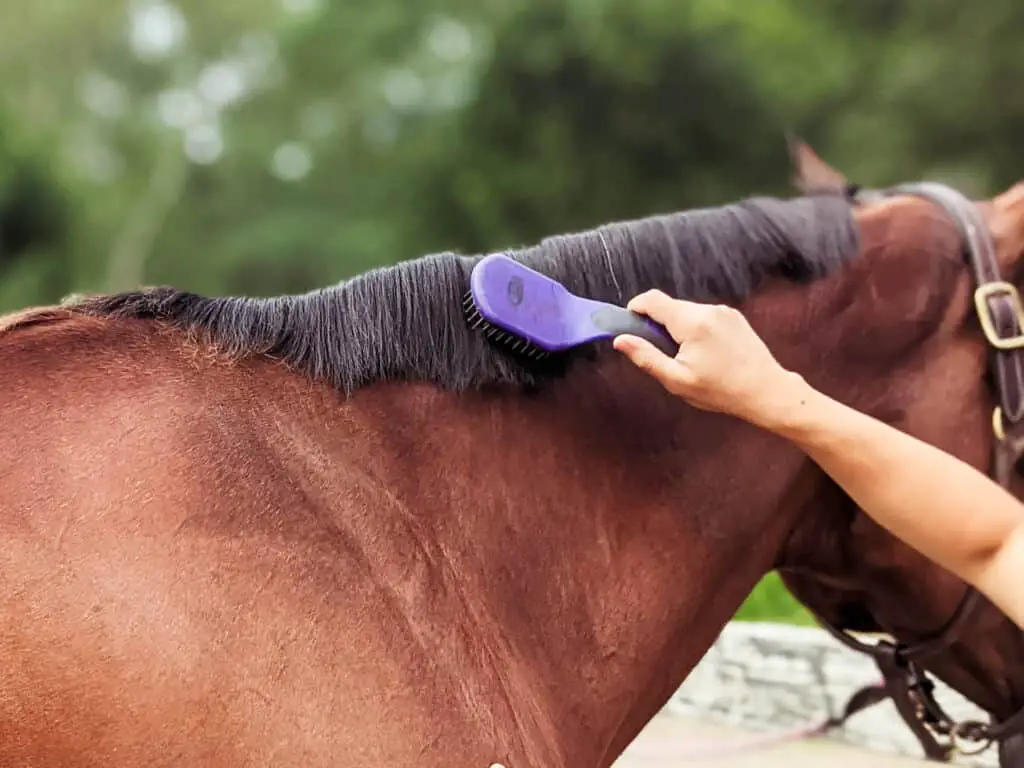
Step 1 Of Mane Pulling: Brush Out The Mane
It’s important to brush out the mane and remove any tangles before you get started. Otherwise, it’s going to be difficult to tell how much thinner the mane needs to be. Plus working with tangled hair will be tricky and you may accidentally pull out more hair than you intended to.
Once the mane is brushed and neat you’re ready to begin.
Step 2: Decide on the length
Next, you’ll need to stand back and look at your horse’s mane now that it’s tangle free. Depending on what discipline you ride, the size of your horse, breed and shape of his neck you’ll need to decide what length looks best. There are some guidelines for length based on breed and discipline standards. But, what’s most important is a length that will flatter your horse’s neck.
For example, my western horses get their manes banded for horse shows. Once their manes are banded the length is roughly 4 inches. However, this is the finished product, not the length when I’m done pulling. I tend to leave the mane a little longer than needed because more can be trimmed off later. Plus, once my horse’s mane is banded, I carefully trim the ends to even out the mane once it’s laying flat against the neck.
And, if your horse’s mane will be braided, 4 inches may not be long enough.
Step 3: Work In Small sections
One of the keys to keeping your horse comfortable during the mane pulling process is to work in small sections. Plus, it’s easier on your fingers. I like to take a section of mane that is about half an inch thick at a time.
You’ll work in one section at a time and then repeat the full process, you do not need to section the whole mane at once.
Some people choose to start at the top of the mane and work down the neck. However, some horses don’t need the top or bottom of the mane pulled. And, some horses are very sensitive at the top of the mane. So you can choose to start a few inches from the top and work your way down to a few inches from the bottom of the mane if your horse falls in this category.
Step 4: Tease & Pull The Mane
Next, while holding the bottom of my 1/2 inch section, I’ll use my pulling comb to tease the hair. I tease the hair all the way up to the crest of the neck. The small amount of hair that is left in my fingers after I have thoroughly teased each section is what gets pulled.
To pull the hair, wrap it around the comb and pull down on the comb with both hands. This will pull the hair out quickly and easily. Once the hair is pulled out, take it off the comb, drop it on the ground to be swept up later.
Next, comb the teased hair out until it is again laying flat. Then, move on to the next section of hair and repeat this process again. Work your way down the mane repeating the process of sectioning, teasing and pulling until you’ve done the whole mane.
Step 5: Check For Even Thickness
Now that you’ve made a pass down the whole length of the mane check to see if there are any spots that are still too thick. Often times I find that the middle of my horse’s mane is still a bit thick, so I may go through it again.
If your horse is sick of having his mane pulled and getting irritated you can pause and do a little more another day. If not, carry on until you finish.
Why You Shouldn’t Push The Issue If Your Horse Gets Antsy
The reason I suggest taking a break if your horse is getting annoyed or moving around is that they will only get worse. I’ve had horses in the past that would shake their heads in anticipation. Once we started working on their manes a little at a time over the course of a week or so, they stopped getting upset. We just reinforced that it was no big deal. If you try to push the issue and you’re not in a rush to prep for a show, you’ll only teach your horse to resent having his mane worked on.
This may not be your trainer’s standpoint and many equestrians may disagree, but this has worked best in my experience. Tolerating mane pulling isn’t easy to teach since you can’t reward your horse by a release of pressure. Instead, when they’re still you pull hair out again. Now every time they cooperate, they are getting their hair pulled. So, it’s counterintuitive which is why I don’t take the normal approach of making my horse stand until I’m done.
What NOT To Do When Pulling Your Horse’s Mane
Let’s start with the most obvious Don’t first, and if you think it’s obvious, you haven’t seen enough botched DIY mane trimming and pulling jobs. DO NOT pull your horses forelock. Also, DO NOT cut your horse’s forelock. Your horse’s forelock can be thicker and longer than his mane. Forelocks can be managed in other ways to keep the hair out of your horse’s face.
Next, as mentioned above, don’t yank large chunks of hair out of your horse’s mane at a time. You will teach him to be fearful and antsy about have his mane worked on.
And lastly, don’t hack off your horse’s mane with a pair of scissors. Now, I’m not completely opposed to using scissors like some people are. However, they are for finishing touches at the end, not for chopping off the mane. If you use scissors instead of pulling you horse’s mane, it will look unnatural and silly. The hair will be thick which will prevent it from laying nicely on the horse’s neck. And you will have a hard time getting even bands and braids.
I hope you found this article helpful! If you did, please share it!
Check out these related articles for more grooming tips!
How To Wash Your Horse’s Tail, A Beginner’s Guide
How To Curry Comb Your Horse The Right Way
How To Bathe Your Horse For Beginners
The Best Way To Clean Your Horse’s White Spots
How To Pick Your Horse’s Hooves Correctly
Recent Posts
As horse owners we want to provide the best possible care for our horses. And, sometimes our idea of what is best for the horse may not be what the horse wants. When it comes to turnout there tend to...
Thinking about buying a horse? In this article we'll discuss the seven reasons you need to do a pre-purchase exam before you seal the deal. If your heart is telling you that you've found the right...