As an equestrian you’ve probably seen horses in your barn or at shows riding around with their legs wrapped. You may have seen a horse standing in his stall and wondered why he’s wearing bandages on his legs. For many horse owners, polo wraps are like saddle pads, you just can’t have enough of them! And, you can even color coordinate your look with polos, saddle pad and fly bonnet. But, there’s a lot more to leg wraps than just a fashion statement.
So what’s the difference between polo wraps and standing wraps anyway? Well, the main difference is that polo wraps are used during exercise to help protect the horse’s legs. While standing wraps are used while the horse is in his stall to help reduce swelling or protect an injury. Standing wraps can also keep your horse’s legs clean at a show or provide protection during a trailer ride.
In this article we’ll cover what polo wraps and standing wraps are, the difference between them and how to use them.
Disclaimer: Leg wraps can cause harm to your horse if not used in the correct circumstances or applied to the horse correctly. Uneven pressure from the bandages can cause injury to your horse. If you are a beginner equestrian or have not used leg wraps on your horse previously, consult your trainer. If your horse has an injury or swelling, you should consult your veterinarian.
What Are Polo Wraps?
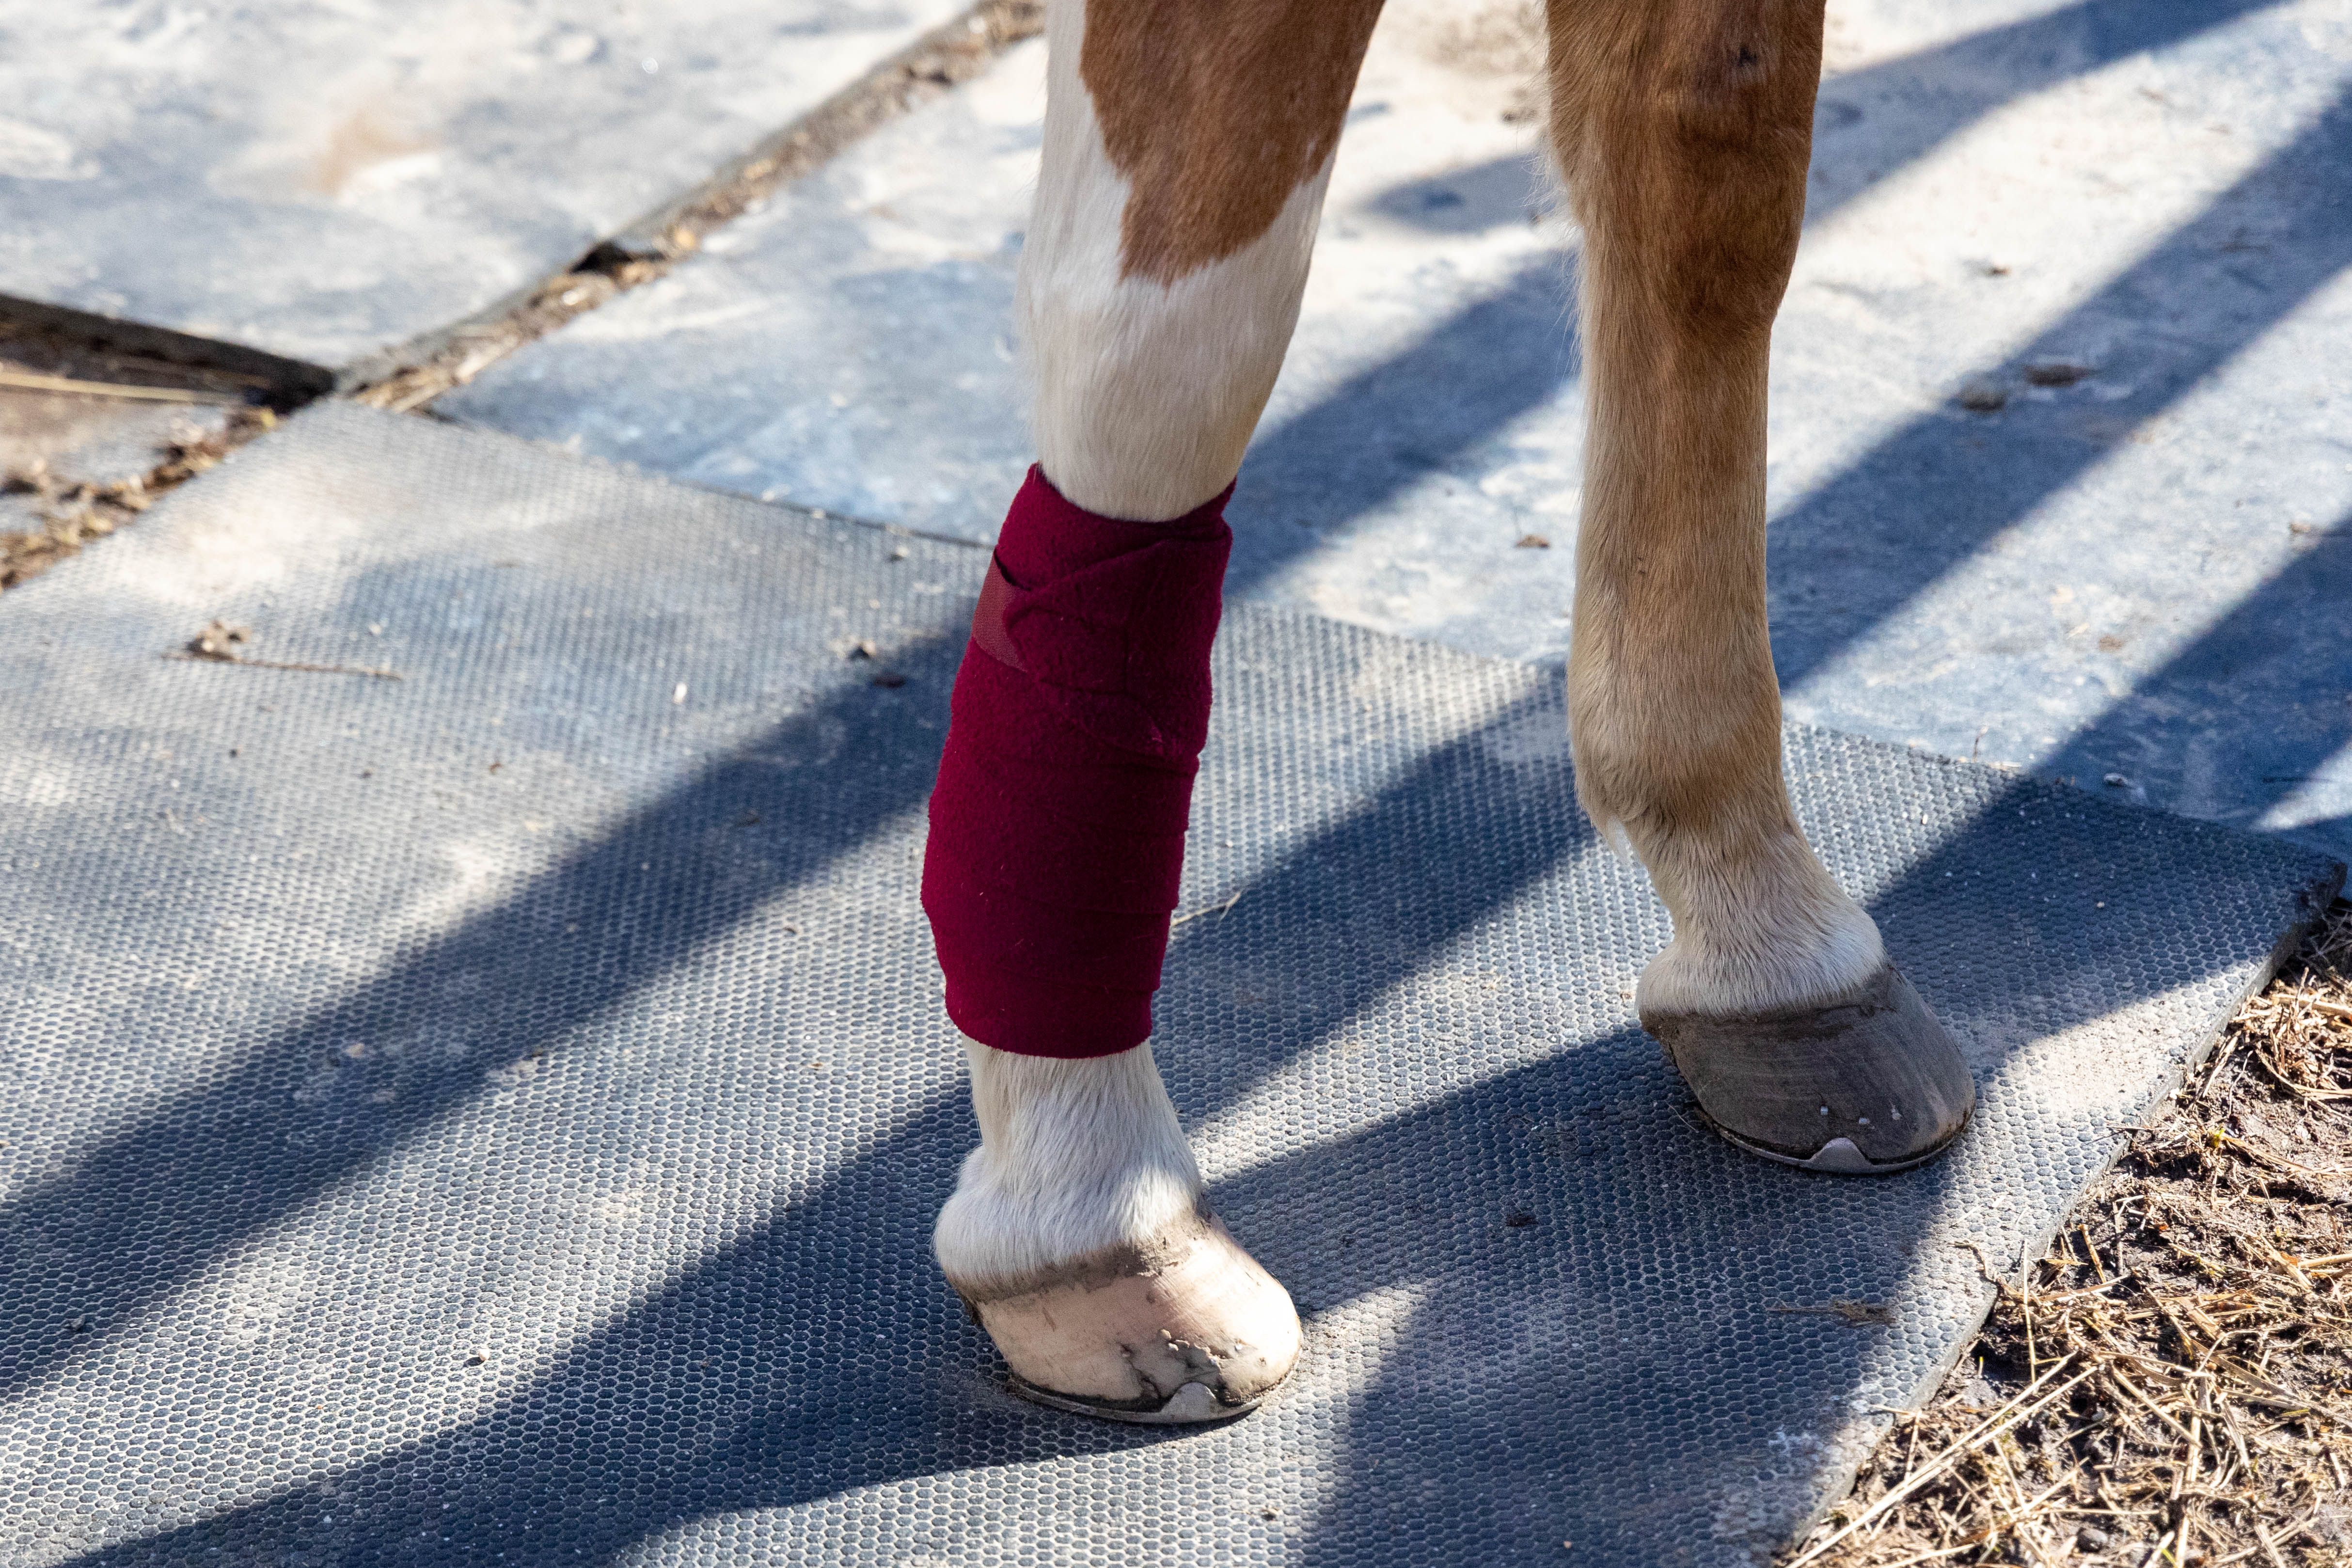
Polo wraps are made of a fleece material and can be wrapped around your horse’s leg without any padding underneath. Generally, the wraps will cover from just under your horse’s knee down to the fetlock. Polo wraps can benefit your horse by protecting the cannon bone, ligaments and tendons and by providing support as well. They can also help keep your horse’s skin free of dust and outdoor elements if they have a cut or infection that is healing while you ride. Polo wraps may also cause less irritation to horses with sensitive skin or injuries than boots.
What Are Standing Wraps?
Standing wraps are made of a much thinner material than polo wraps and have a bit of stretch to them. They are also typically wider than polo wraps as well. Standing wraps need to be used with a quilt or no-bow wrap underneath and cannot be placed directly onto the horse’s legs. The purpose of standing wraps are to protect the horse’s legs and provide support when they are stalled or on a horse trailer and after a hard work out.
They’re also a useful tool when dealing with injuries. Standing wraps can even by applied over a medical bandage for a healing wound to help prevent the bandage from coming off. Consult your veterinarian about using standing wraps over injuries and other bandages. Depending on the type of injury or infection your veterinarian may provide you with other instructions.
When To Use Polo Wraps Vs. Standing Wraps
Polo wraps are normally used for exercise to help prevent injury and unnecessary strain to your horse’s legs.
One very important point to note about polo wraps is that you should not use them when you plan to ride on wet or muddy footing. For example, if you plan to take your horse for a trail ride and may need to either cross a stream, walk through mud or unavoidable puddles.
A wet polo wrap can cause injury to you horse due to uneven pressure and tightness or twisting. In this scenario, it is preferable to use some time of boots instead of leg wraps. For example, brushing boots or splint boots.
However, if you plan to ride in a dry area, polo wraps can provide many benefits. If your horse over tracks or goes a little crazy on the lunge line, polo wraps can protect their legs from getting hit. They can also support the horse’s legs when the footing is not ideal or when your horse is working hard. And, the bonus is, they always look nice!
Standing wraps can be used in a variety of situations to provide support and protection to the horse’s legs. Applying standing wraps correctly can help reduce inflammation in horses who tend to stock up. Or, you can use them after a hard work out. They can also provide protection for horses riding in a trailer or keep your horse’s white legs clean at a horse show.
Check out the table below for some examples to help you determine which type of wrap to use.
| Scenario | Polo Wraps | Standing Wraps |
| Horse Trailer | X | |
| Riding In Dry Arena | X | |
| Overnight In The Stall | X | |
| After A Hard Work Out | X | |
| Lunging | X | |
| Ground Work | X | |
| Starting A Young Horse | X | |
| To Reduce Inflammation | X | |
| Round Penning | X | |
| Keeping A Bandage In Place | X |
Tips For Applying Leg Wraps Correctly
To wrap your horse’s legs there are a few key tips you need to remember.
First, make sure your horse’s legs are clean and dry. Your horse should be groomed before applying leg wraps. If your horse’s legs are wet, let them dry before applying polo or standing wraps. Don’t apply any type of leg wrap over dirt, manure, shavings or debris.
Keep the wrap flat and don’t allow it to become twisted as you wrap. Try to keep the pressure the even from start to finish. Meaning, you don’t want to start by wrapping the leg loosely then tighter or vice versa. You’ll also want to make sure you space the wrap evenly each time you go around the horse’s leg to avoid pressure points.
Additionally, many people advise wrapping the leg from front to back on the outside of the leg in order to wrap the tendons inward. Meaning the loose end of the wrap should be facing the horse’s head with the roll facing the tail from the outside of the horse. However, this has become controversial as some experts say it does not matter which direction the leg is wrapped as long as the wrap is applied evenly. I was always taught to wrap from the outside to the inside and front to back and will continue to do so. I just don’t feel comfortable wrapping the opposite direction.
Next it’s important to wrap the correct area of your horse’s leg. Start below the knee and work your way down towards the fetlock, then back up the horse’s leg. You want to have the end of the wrap at the top of the horse’s leg. Be careful not to wrap down onto the horse’s pastern in order to avoid interfering with their flexion and movement.
And, as a somewhat important side note about safety. Don’t kneel down next to your horse while you’re wrapping his leg. It’s much safer to stay on your feet so that if your horse spooks you can move out of the way quickly.
How To Wrap A Horse’s Leg With Polo Wraps
Some people start in the middle of the cannon bone knowing their horse’s legs are large and they may run out of leg wrap. For the average sized horse between 15 and 16 hands you should be able to start at the top of the horse’s cannon bone right under the knee.
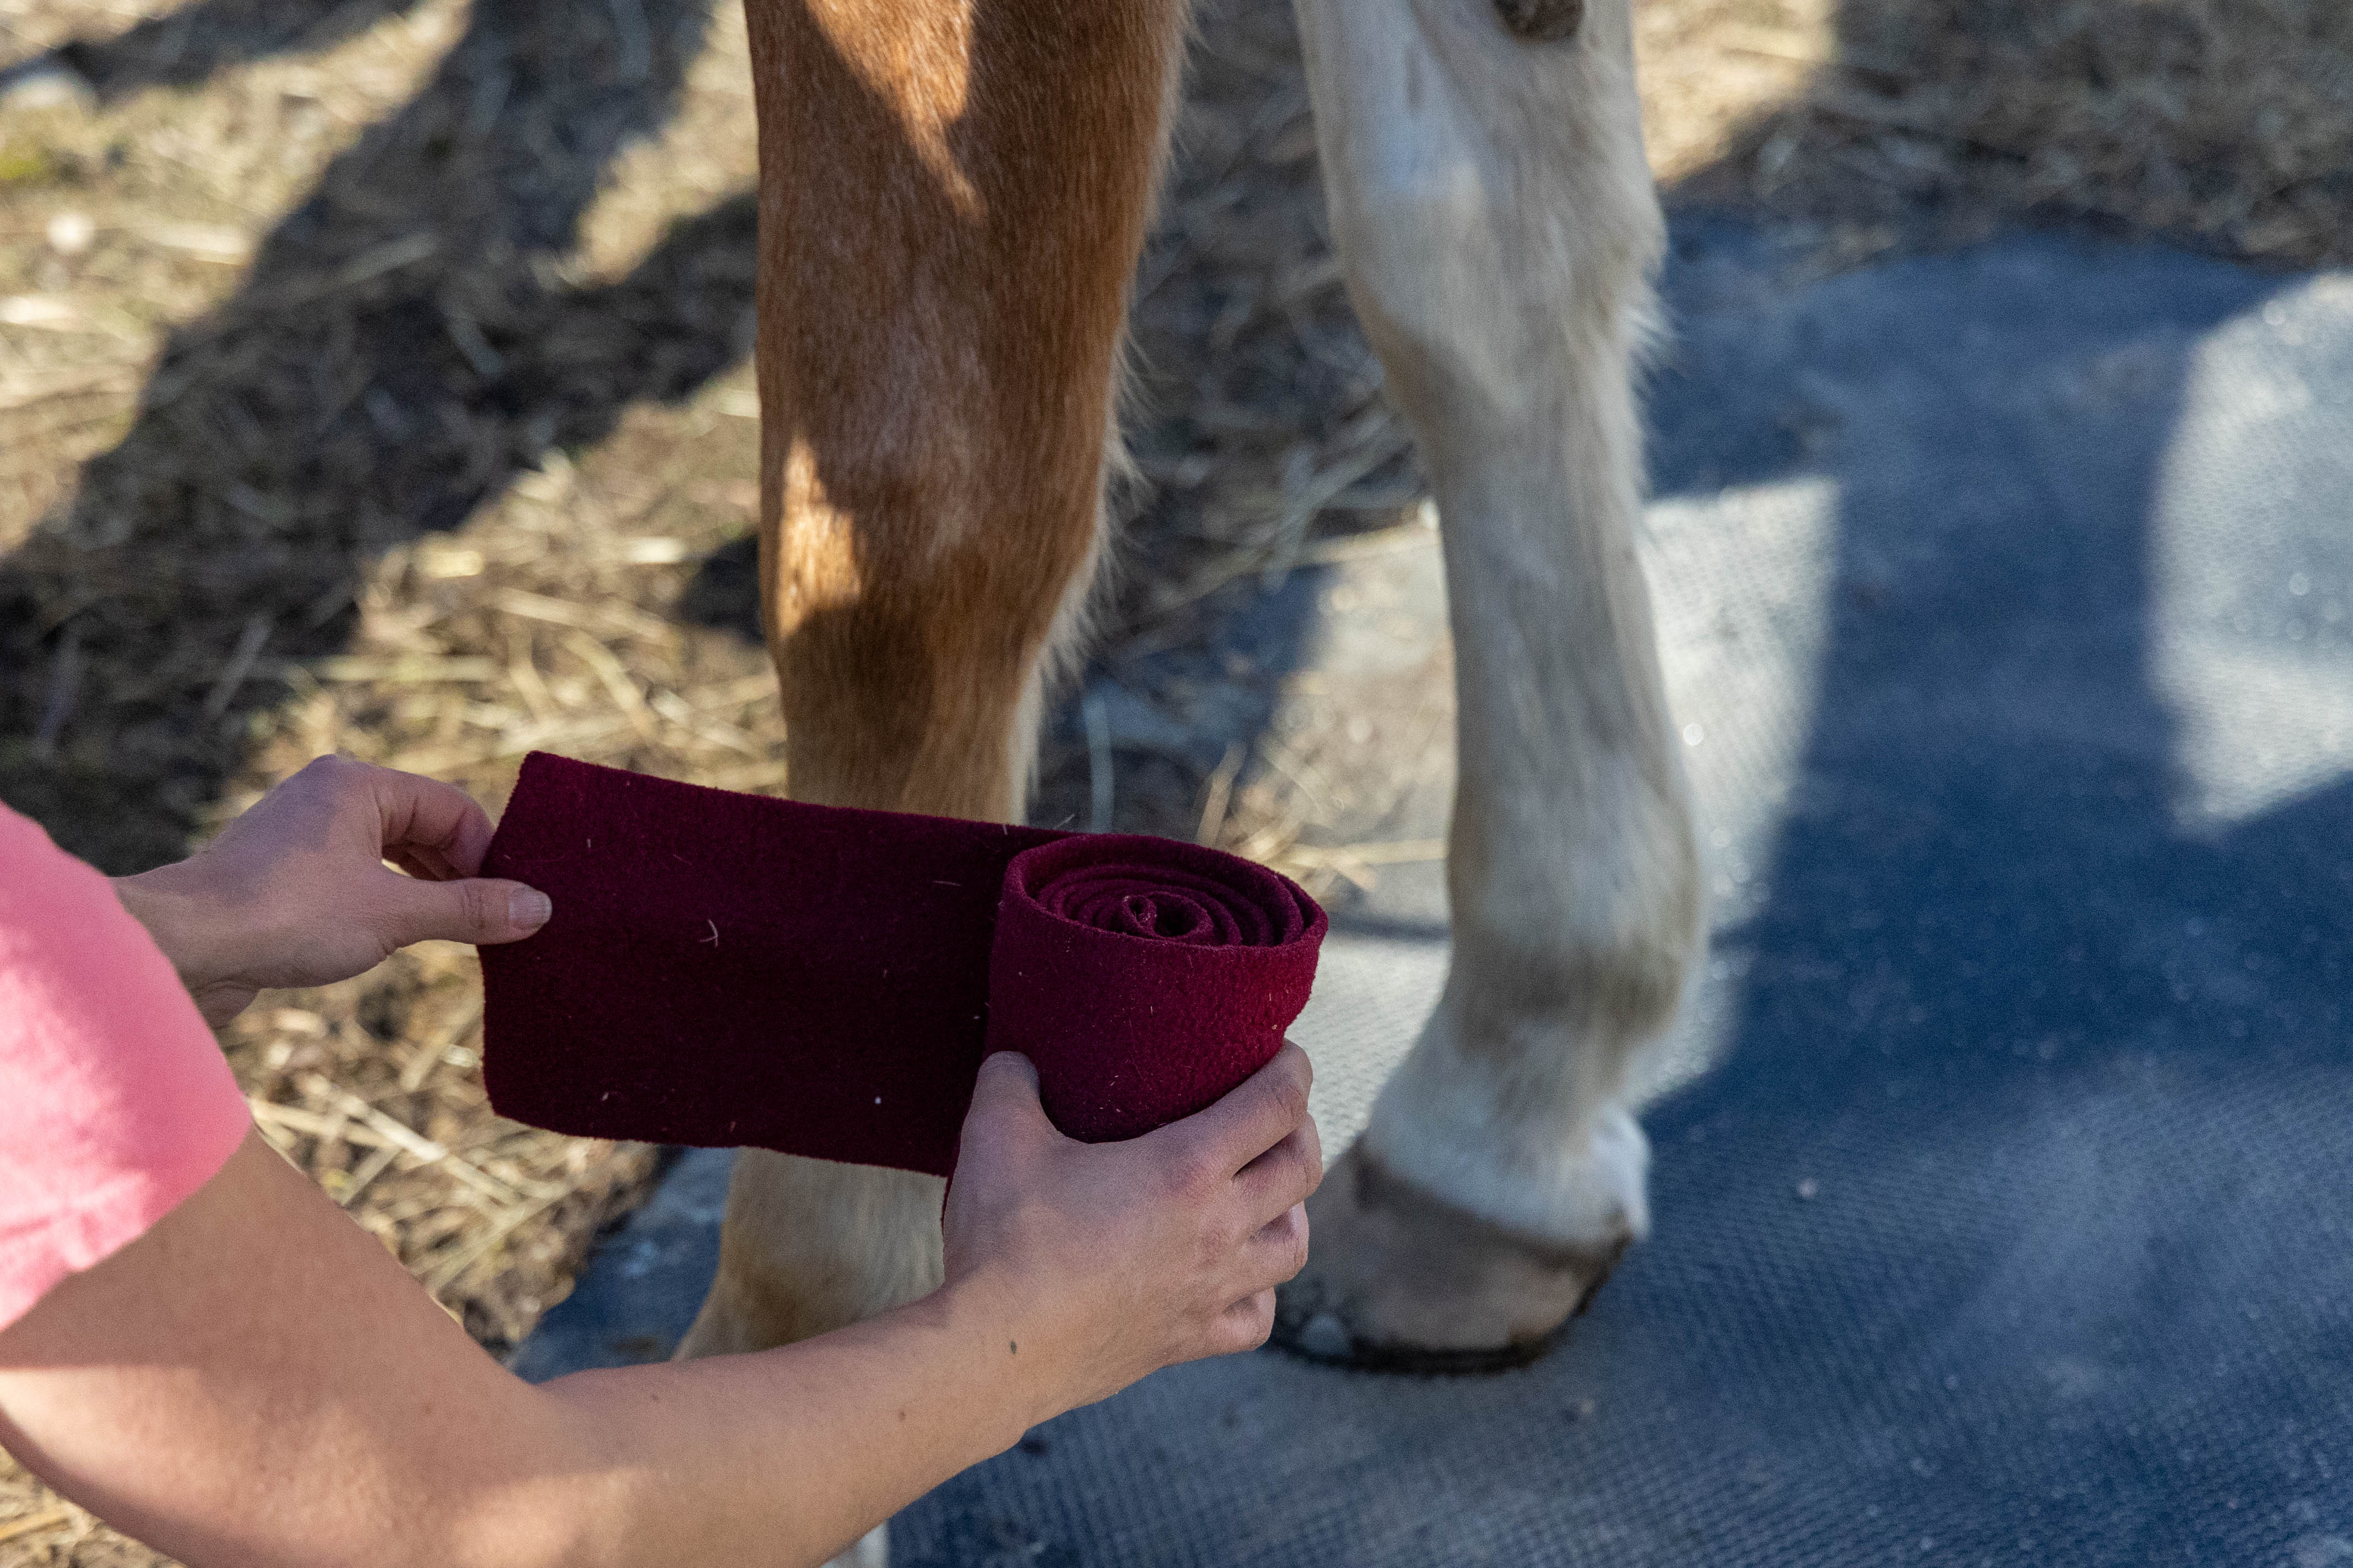
Hold the wrap with the loose end on the bottom side, closest to the horse’s leg and facing the horse’s head. Keep the roll facing the horse’s tail. Hold the first wrap in place as you apply the second wrap around the leg. Roll the wrap around your horse’s leg by passing it from hand to hand.
If I’m wrapping the horse’s left front leg, I will hold the loose end in place with my left hand while rolling the wrap with my right hand. When the roll reaches the front of the horse’s leg I’ll use my left hand to pass it back around to my right hand.
Work your way down the horse’s leg remembering to keep the wrap smooth and even. Then, start wrapping back up towards the knee and be careful to only go around the fetlock one time. Once you reach the top, velcro the wrap in place.
You can check that the pressure is even by inserting your finger into the top of the wrap and the bottom of the wrap. If the wrap feels too tight or uneven, you may need to undo and re-wrap your horse’s leg. You’ll want the wrap tight enough to stay in place but loose enough that it it is not uncomfortable for your horse.
How To Wrap A Horse’s Leg With Standing Wraps
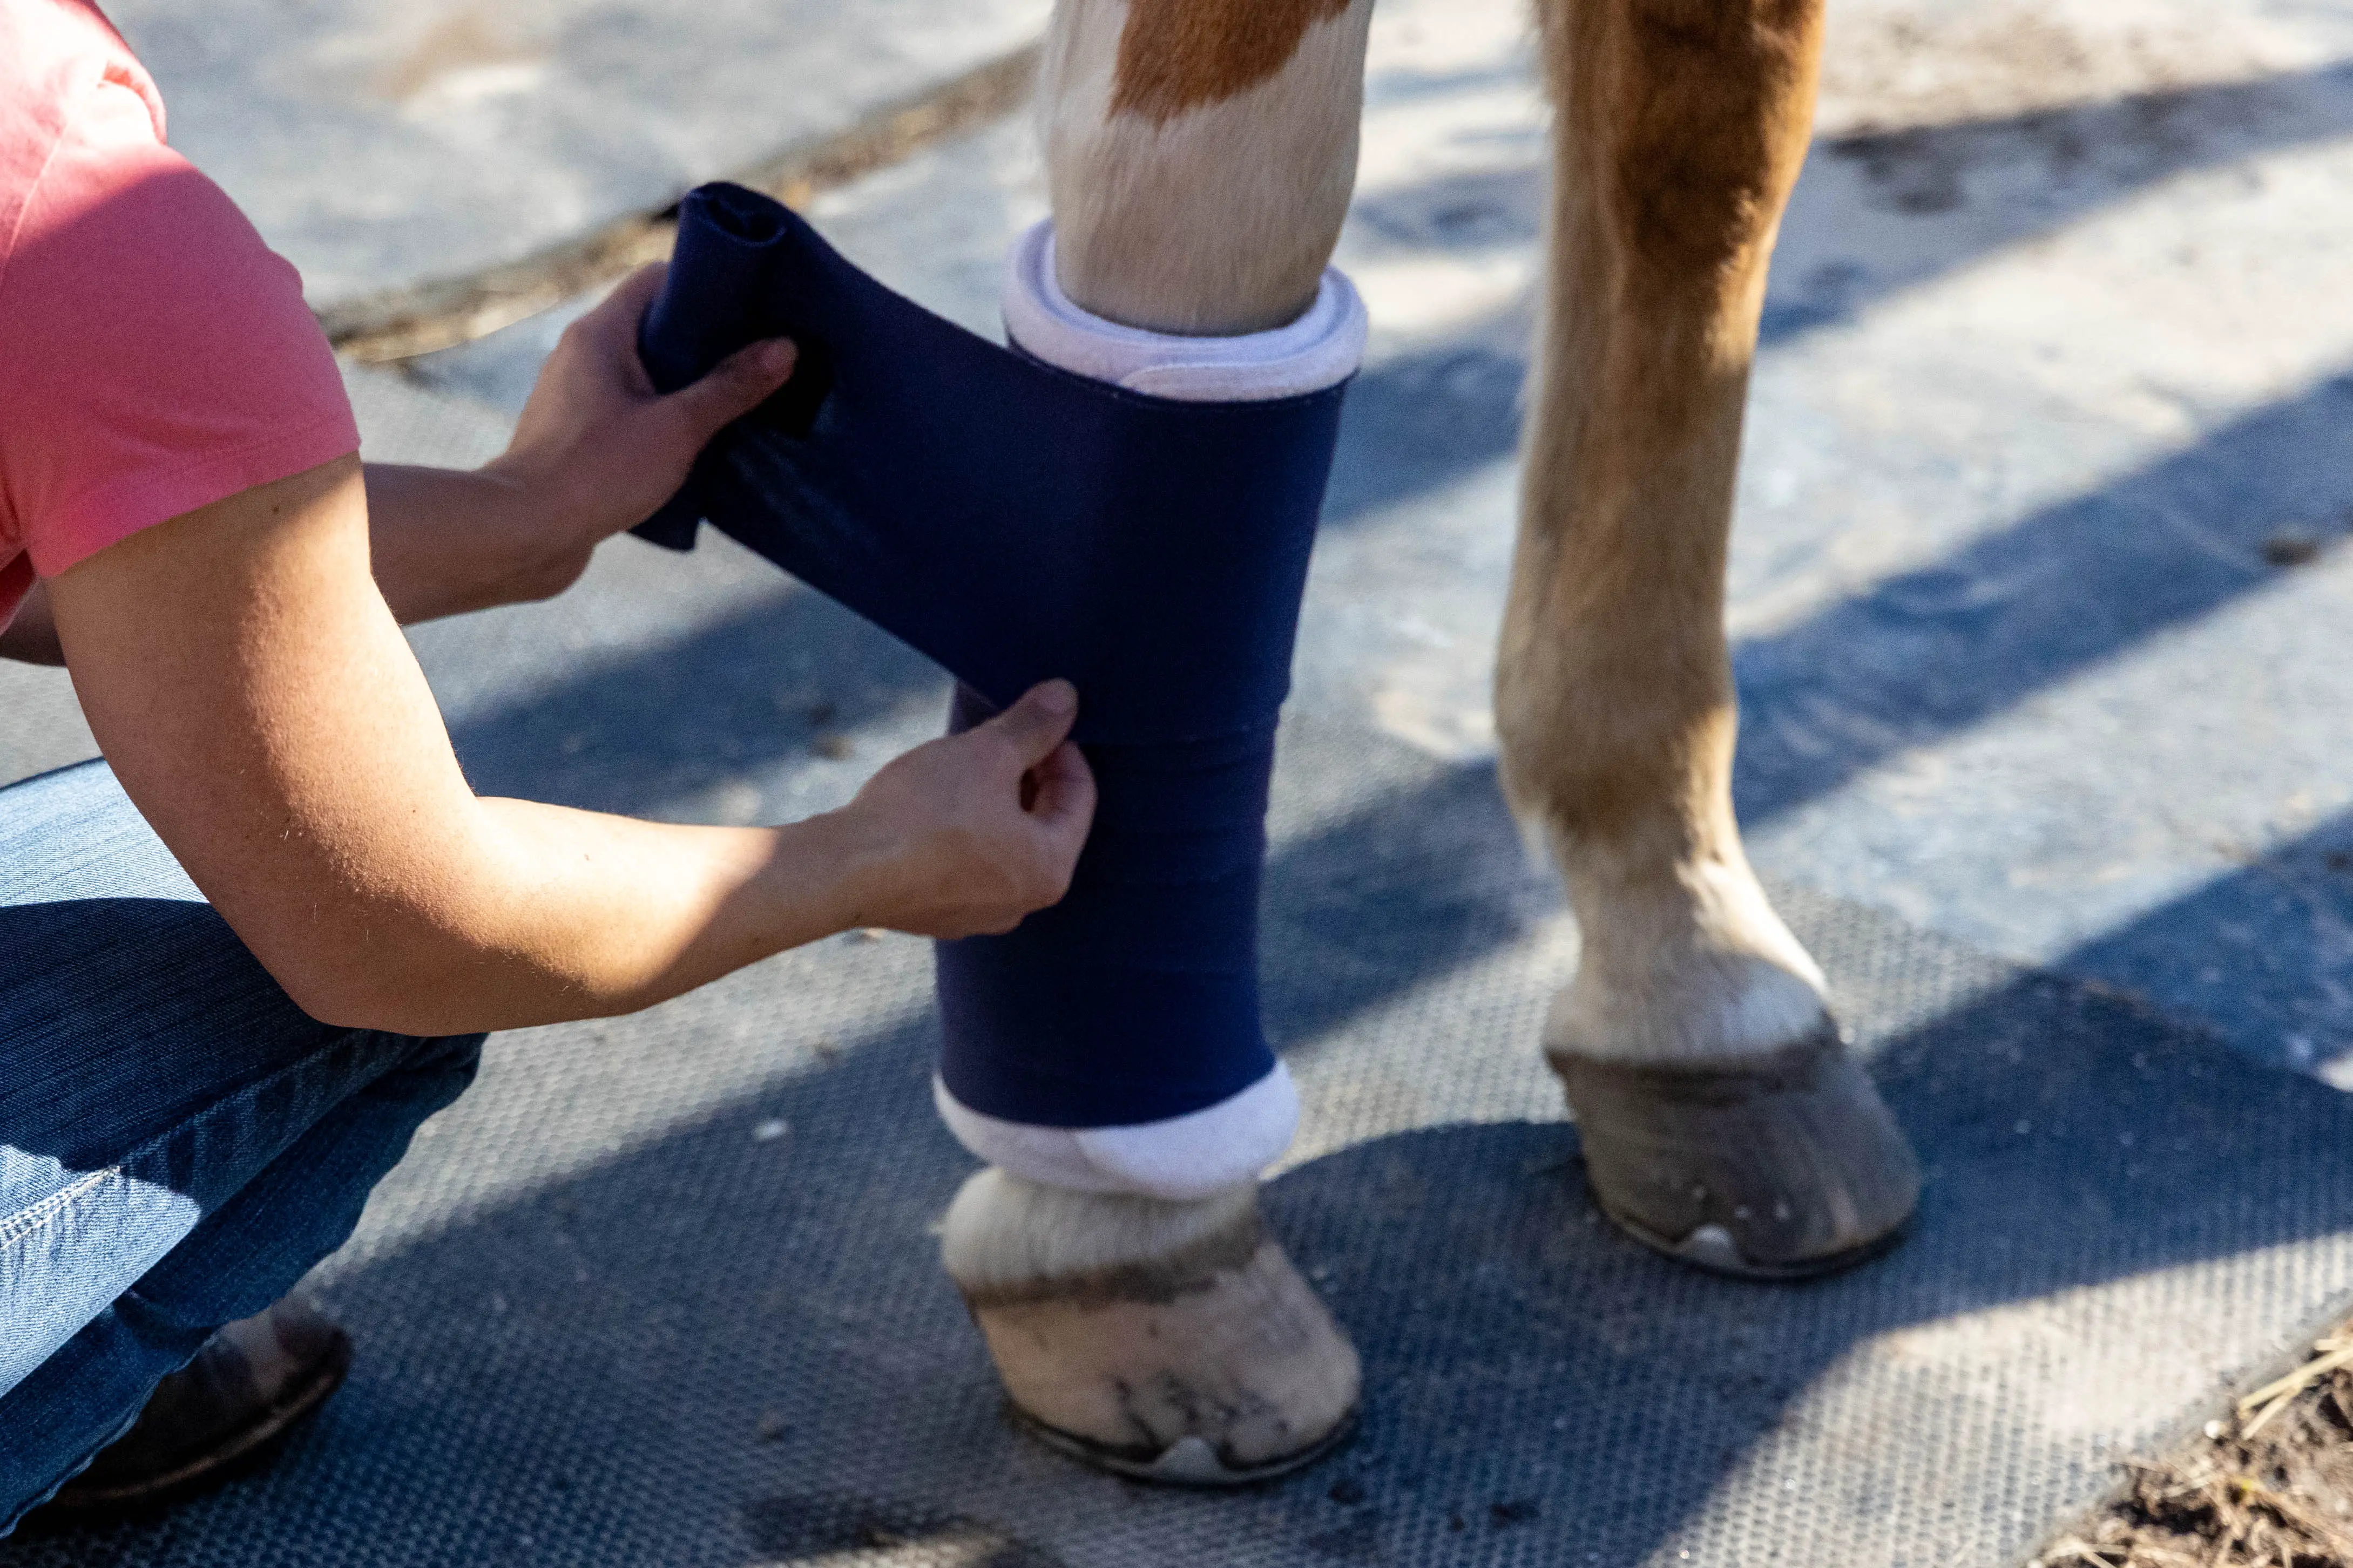
To apply standing wraps to you horse, first you’ll need to use a thick quilt or no-bow bandage. Place the quilt onto your horse’s leg with the top under the knee and at the top of the cannon bone. Keep the quilt the same direction as you would a polo wrap, with the loose end facing the horse’s head and closest to the horse’s leg. Wrap from front to back starting on the outside of the horse’s leg.
Next, hold the quilt in place while you begin your standing wrap. This takes a bit of coordination and practice. Make sure you have everything ready to use before you start. Wrap the standing wrap over the quilt in the same direction and work your way down first. Once you reach the bottom of the quilt, leave a little space so you can see the quilt underneath. Do not wrap past the quilt. Then, start rolling back up your horse’s leg. As I mentioned above, make sure to smooth out the wrap as you go and don’t let it become twisted or bunched. And, just like with a polo wrap, keep the pressure and spacing even throughout the wrapping process.
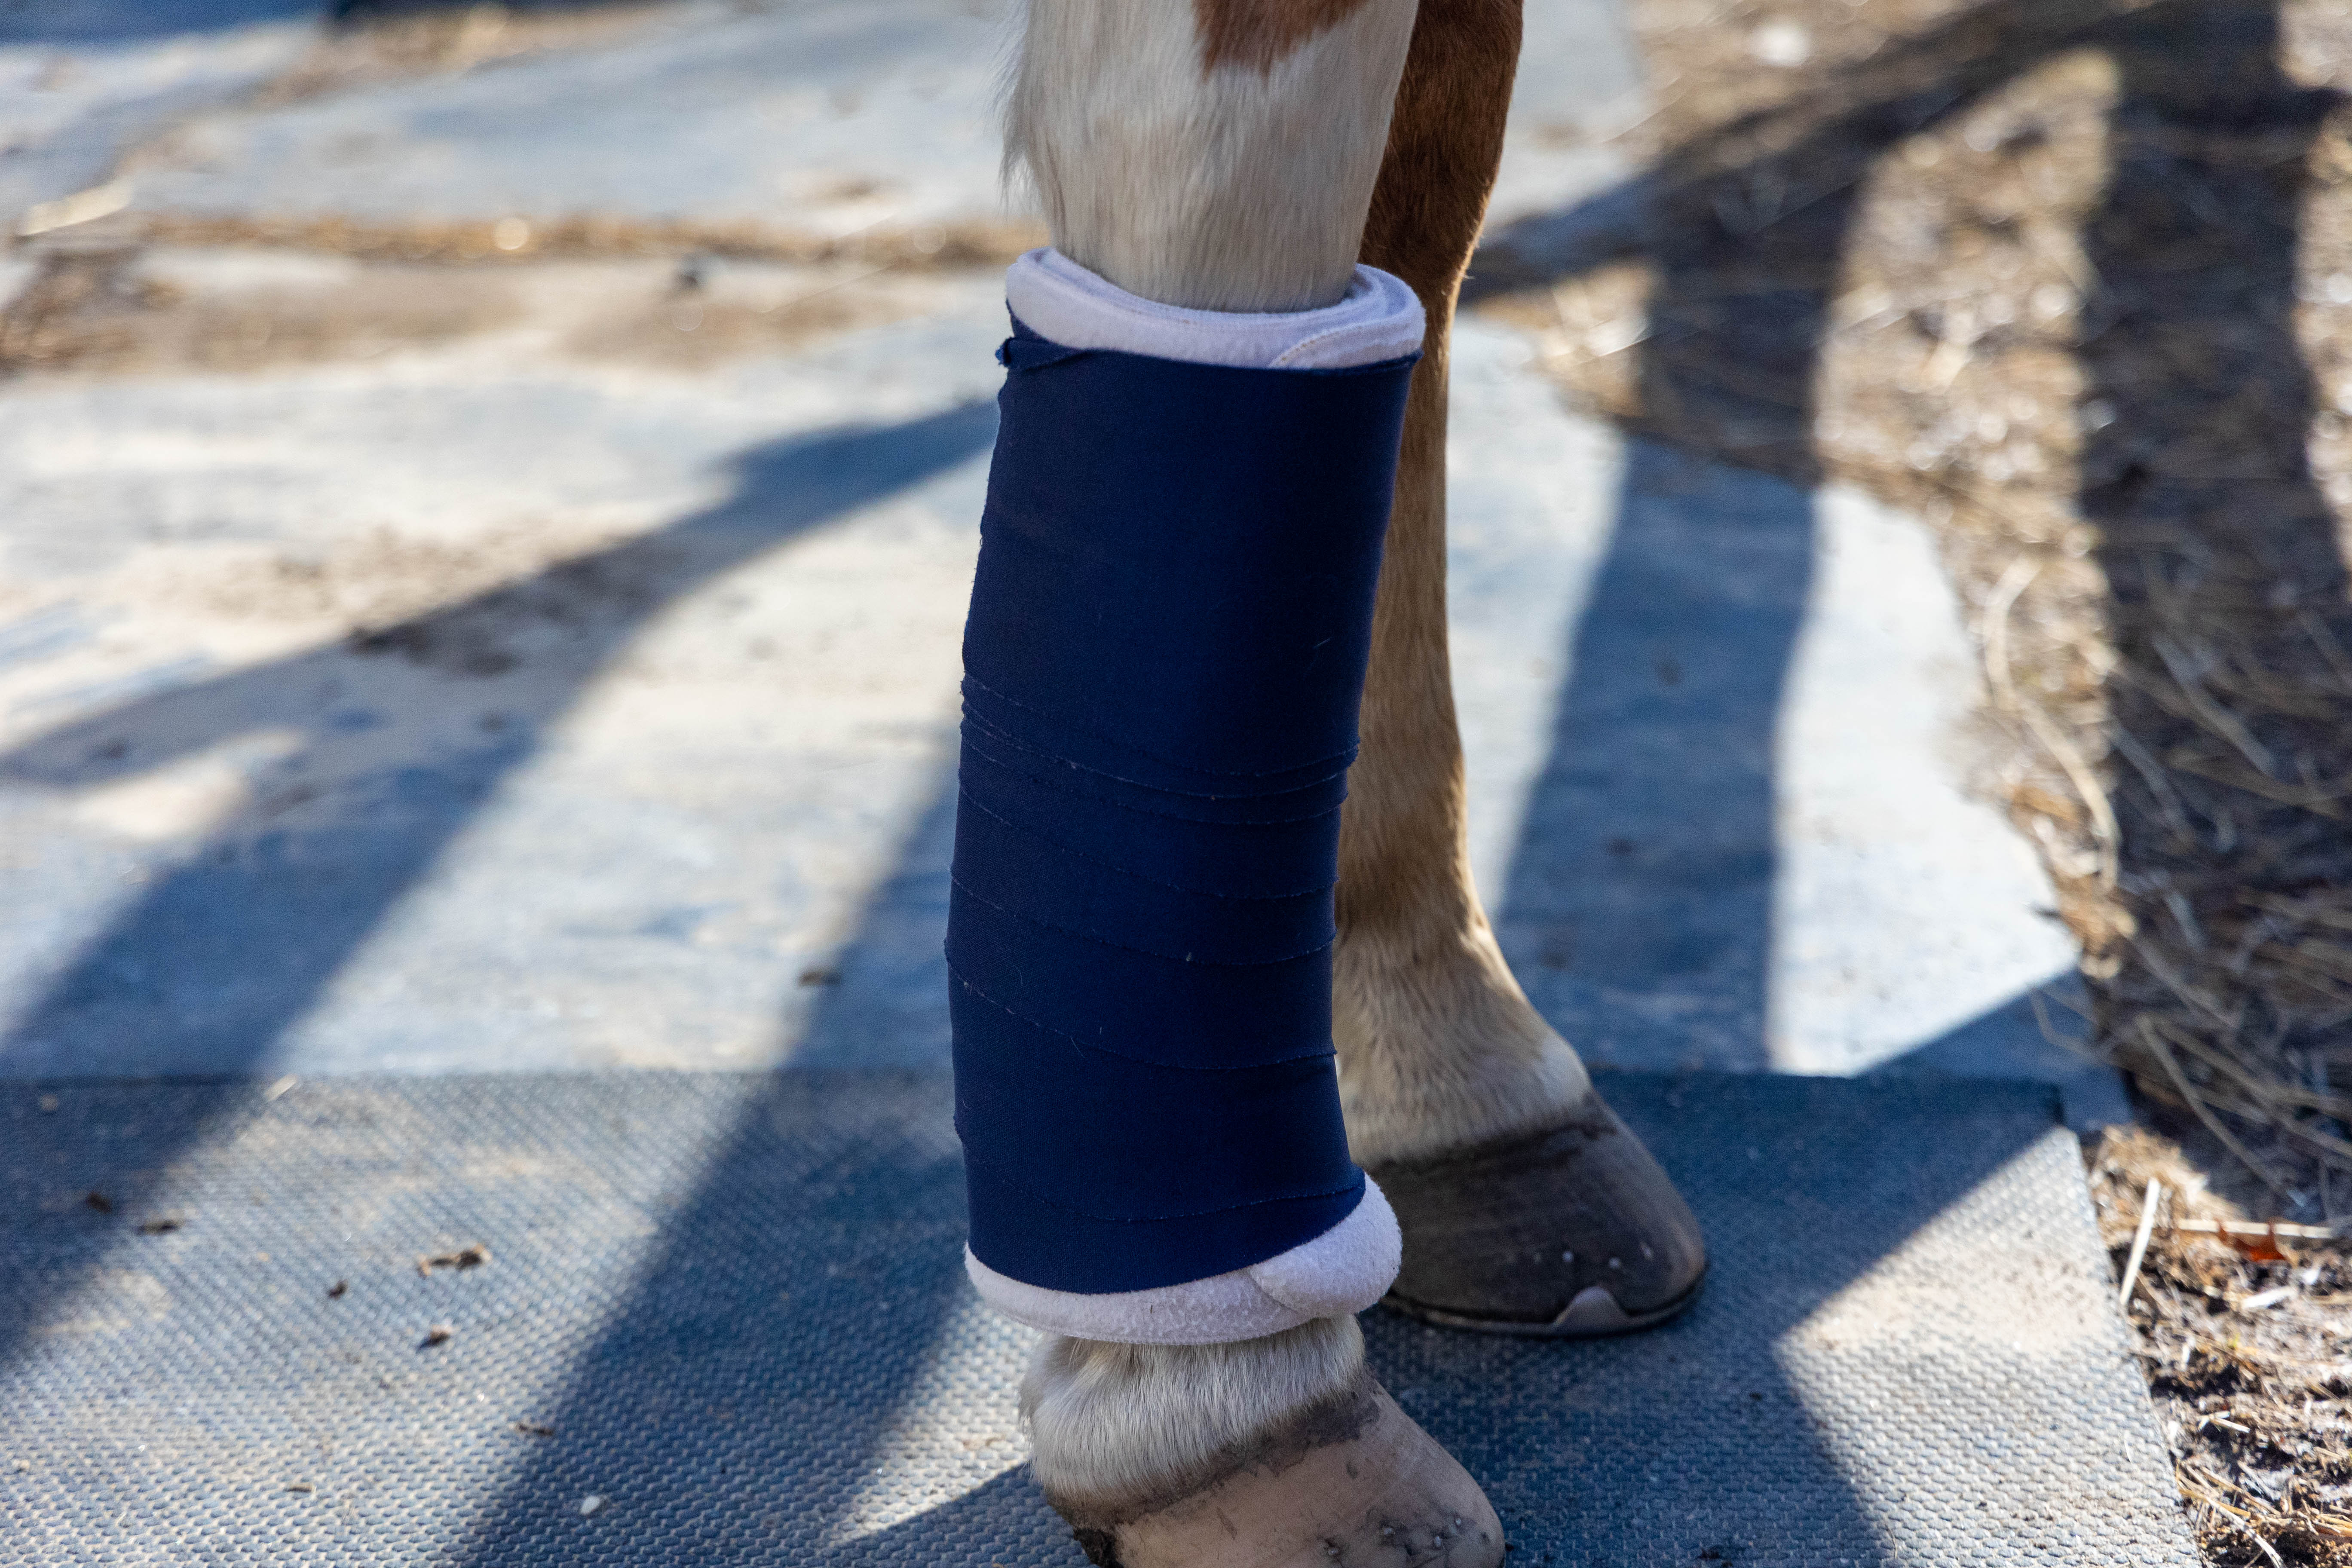
As you reach the top, leave a bit of space so the top of the quilt is visible, just like the bottom. Then, secure your standing wrap with the Velcro. If your horse likes to bite at or pull off their bandages in their stall at night, you may want to put a piece of tape around the top to keep the wrap on.
I hope you found this article helpful! If you did please give it a share!
Recent Posts
As horse owners we want to provide the best possible care for our horses. And, sometimes our idea of what is best for the horse may not be what the horse wants. When it comes to turnout there tend to...
Thinking about buying a horse? In this article we'll discuss the seven reasons you need to do a pre-purchase exam before you seal the deal. If your heart is telling you that you've found the right...