If you don’t know how to bathe your horse it can seem a bit intimidating, but fear not! Once you have a strategy, you’ll find it’s actually fun, especially in the heat! There are several different methods for bathing your horse based on the weather, the time of year and the purpose of the bath.
In this article, I’ll share the method I use during the summer, when there is no risk of a chill. These are the steps I use to get my horse as clean as possible for a horseshow or in between shows. This is what I consider, a standard bath for my horses.
This guide assumes the following:
- The horse you are bathing is not afraid of water
- The horse is not afraid of the hose
- The horse will stand tied politely.
If your horse has never been bathed or is fearful, you should ask for help! Get an experienced friend or your trainer to assist you, at least the first time!
If your horse does not know how to stand tied, focus on groundwork before attempting to bathe your horse. Safety is key!
Alternately, if your horse needs to be bathed in order to combat a skin issue or have a medicated bath follow instructions from your veterinarian and trainer.
Looking for a veterinarian to care for your horse? A post will be up soon all about how to find the right vet. And, if you need a trainer, check out this post about how to find the right riding instructor for you!
This post may contain affiliate links which means that I may earn a small commission at no extra cost to you. As an Amazon Associate I earn from qualifying purchases.
Is It Warm Enough To Bathe Your Horse?
I’ve always followed this general rule of thumb. If it is too cold to be outside in just a t-shirt, then it’s too cold for a bath. Of course, if you have access to an indoor wash stall, heat lamps, warm water and a cooler, then you can bend this rule a bit.
Rinse Like Your Life Depends On It
Once you have groomed your horse and safely tied them in the area you plan to bathe them, it’s time to break out the hose.
Start by spraying the water on a gentle setting and aim towards your horse’s front hooves. Slowly work your way up the front legs towards the chest, rinse the chest and work your way up to the top of the neck. From there, you can continue rinsing working your way from head to tail and the back legs. Repeat this process on the other side of your horse. It may seem strange to begin in this order but will help reduce the shock and impact of the cold water on your horse. Sometimes, it’s the little details that can make giving your horse a bath less stressful and more enjoyable for them.
Make sure to wet their tail as well, some horses are sensitive and when the water touches their tail bone may react. So, be sure to stand to side of the horse.
The goal here, is to rinse away as much dirt and debris as possible, so you may be rinsing for quite a while. Plus, you want to make sure your horse’s hair is thoroughly drenched before you apply shampoo.
Time To Get Sudsy
Next, it’s time to break out the shampoo. There are two methods for this step; you can either mix some shampoo and water in a bucket or you can put shampoo directly on the horse.
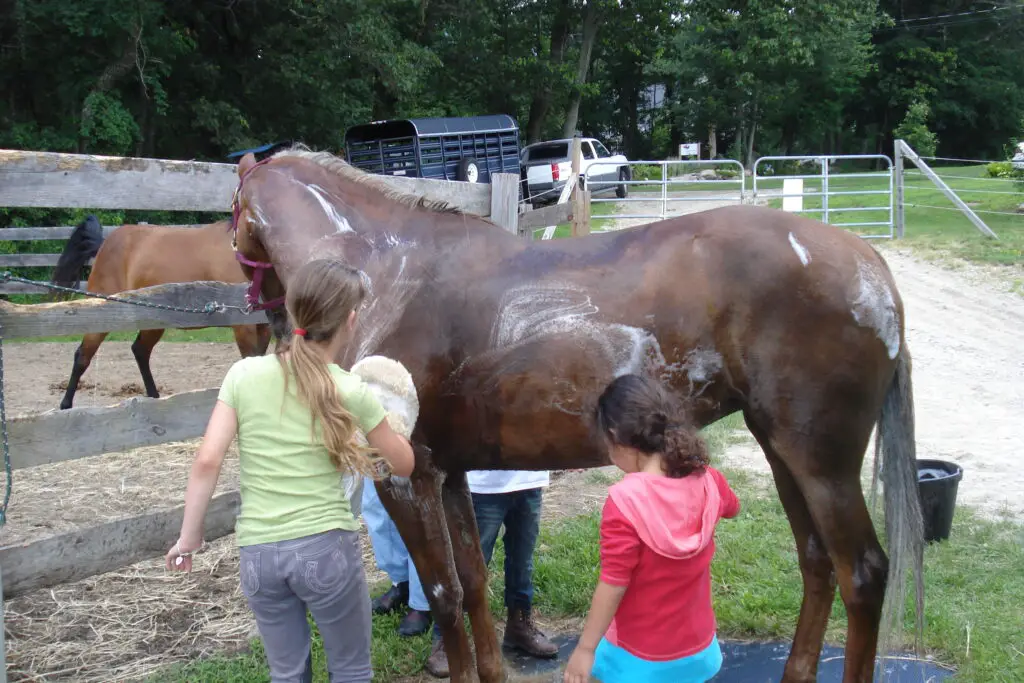
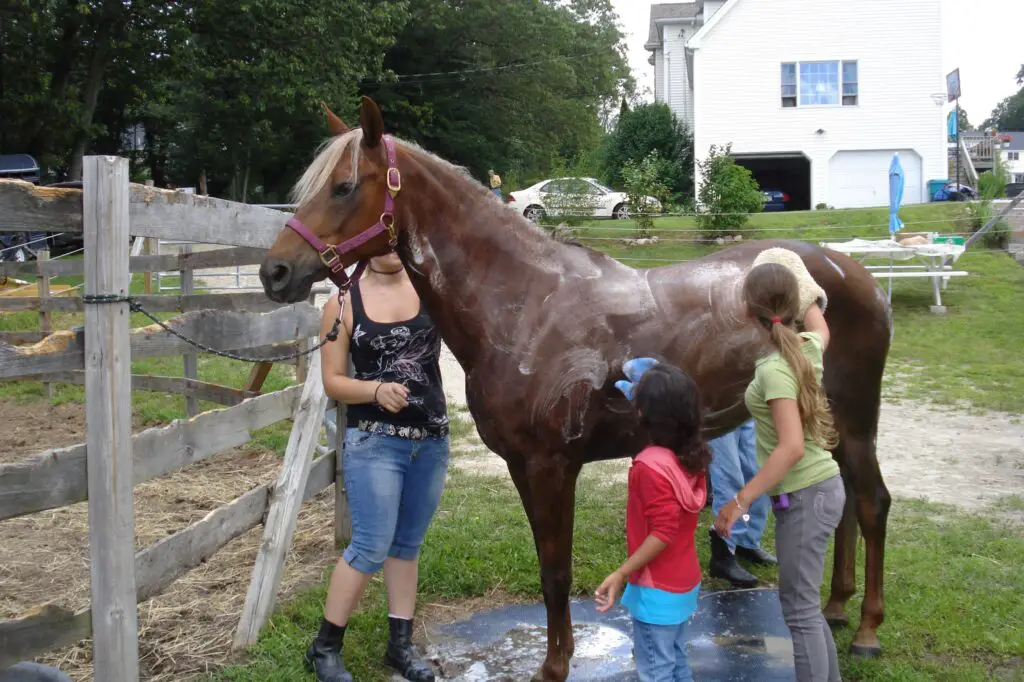
Whichever way you choose to bathe your horse, make sure your sponge is wet and start washing your horse. I like to use my sponge in circular motions just like a curry comb. You can use a bathing mit, a brush, a soft sponge or a curry mit or a combination to wash your horse. If you choose to use a curry, avoid using it on the legs and instead switch to a brush or sponge.

If you are washing your horse’s mane, use your fingers to massage the base of the mane all the way down his neck. just like you would massage your scalp when washing your own hair.
Apply shampoo to your horse’s tail as well and massage the tailbone to remove grease and grit. Similar to washing your own hair, you don’t need to thoroughly scrub the ends of the tail with shampoo if the tail is fairly clean as this can dry out the hair. As you rinse the tail, the shampoo and water will run through down and cleanse the ends without lots of scrubbing. However, if your horse has manure, mud, urine or a combination in their tail, you will absolutely want to shampoo all of it thoroughly.
There are many great horse shampoos out there but these two are my absolute favorites!
Rinse Thoroughly!
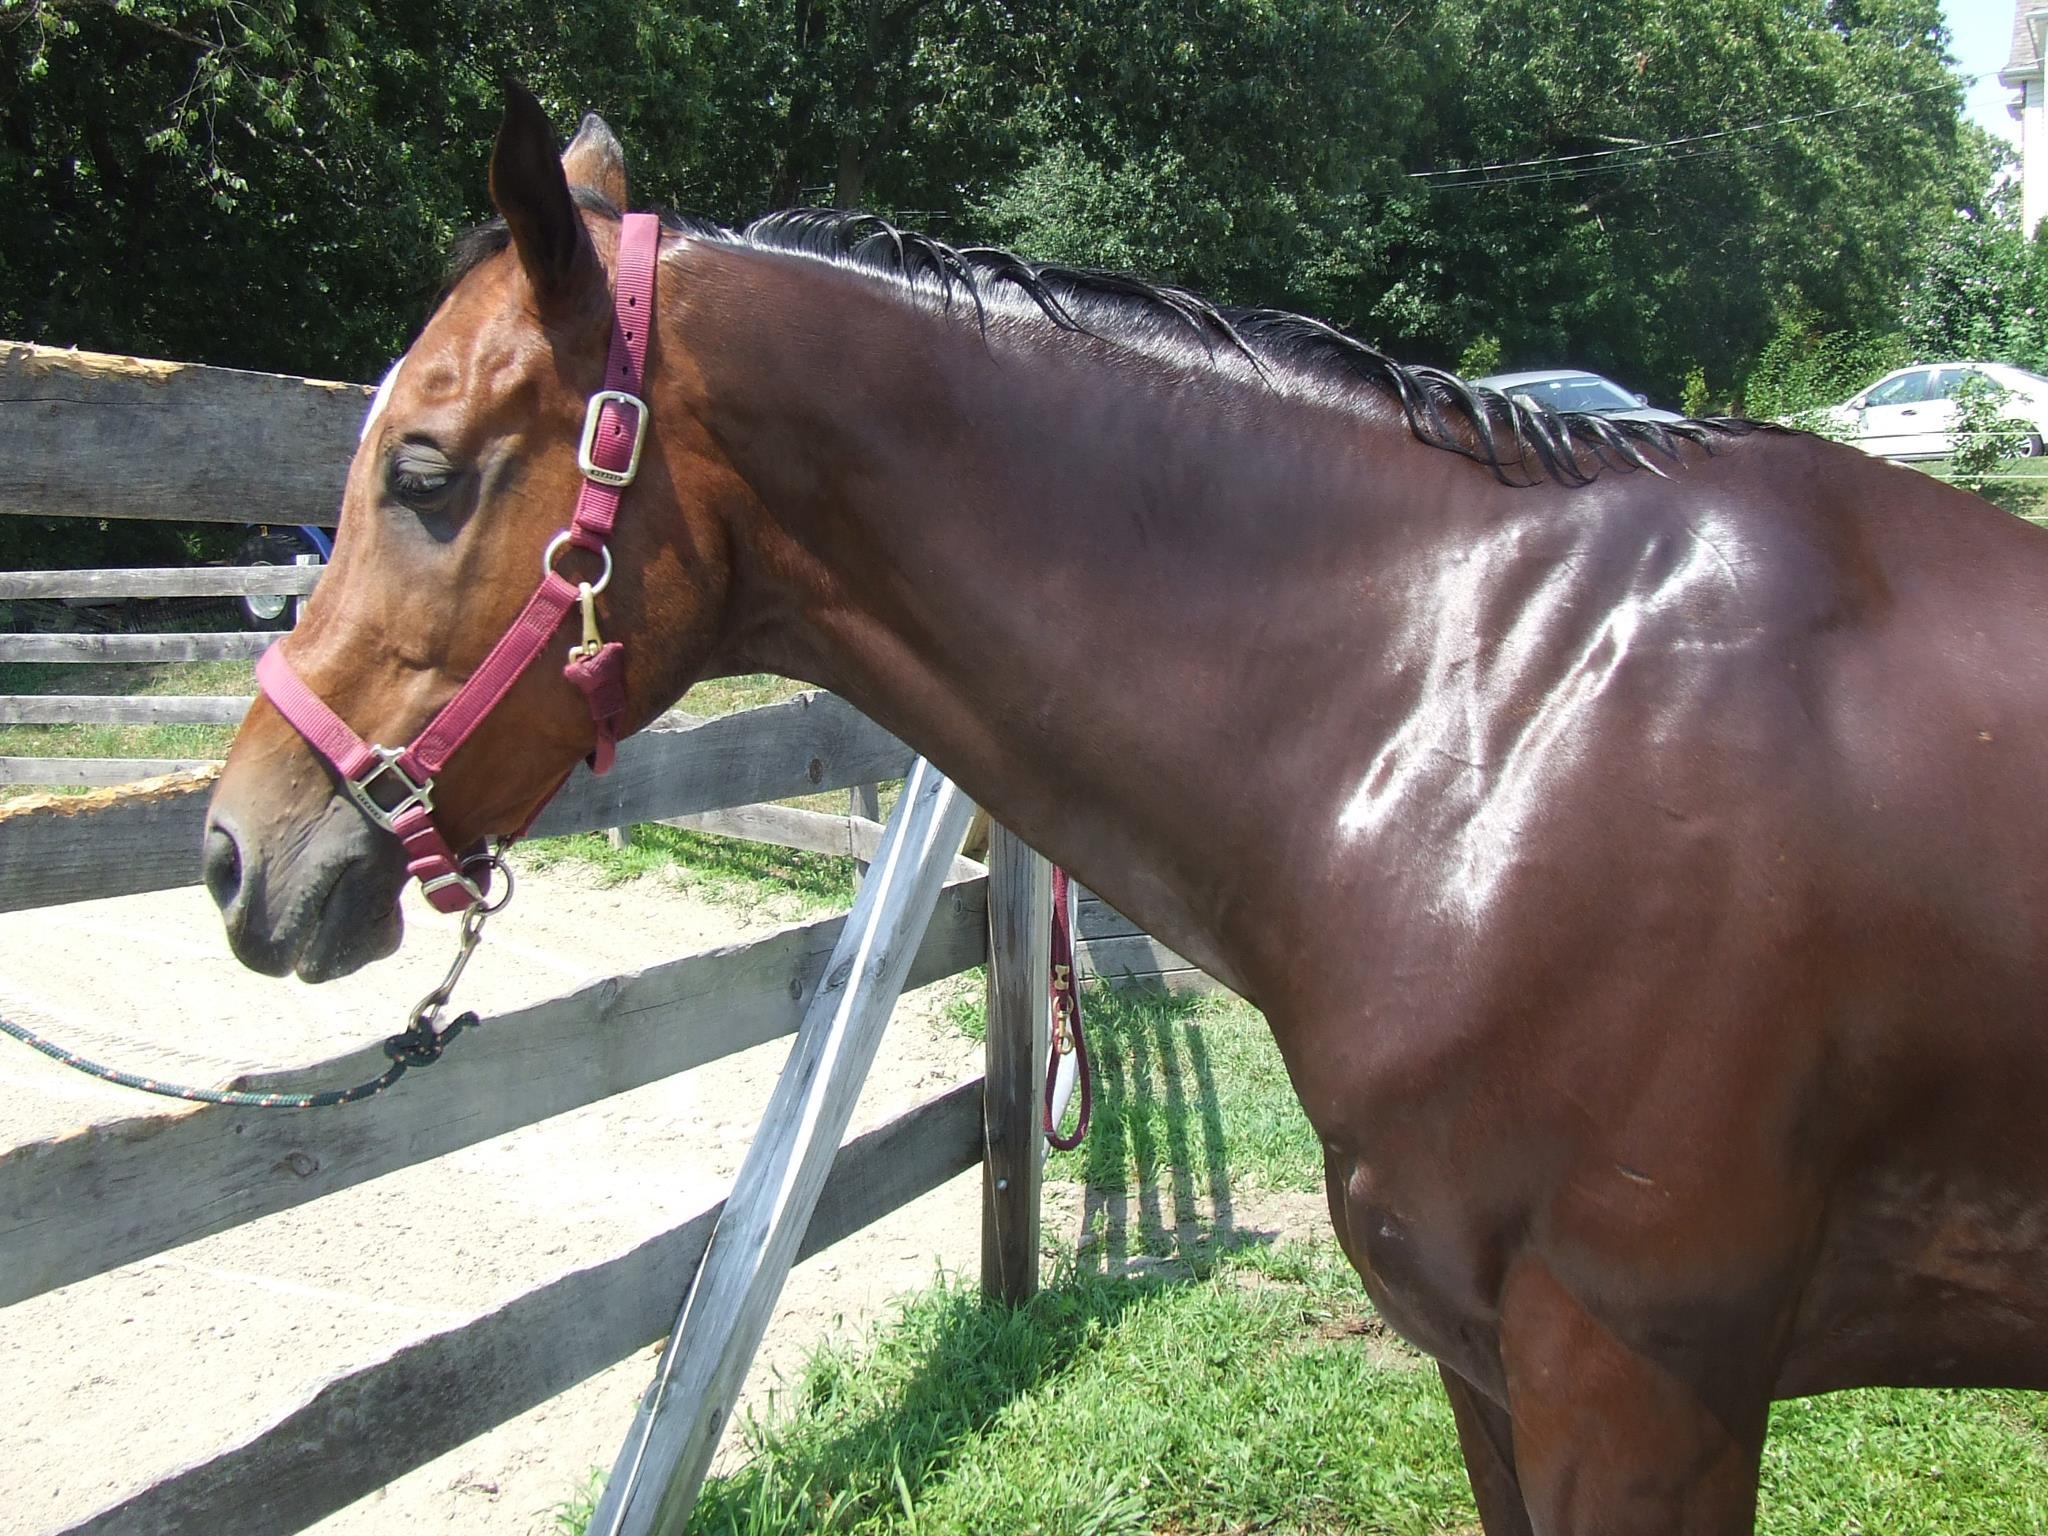
Once you’ve shampooed your horse, it’s time to rinse, very thoroughly! You should continue rinsing until the water runs clear! Leaving any soap residue on your horse’s skin can cause irritation!
Follow the same pattern to rinse your horse as you did at the beginning and be sure to thoroughly rinse all product out of the mane and tail as well!
Scrape Off Excess Water
Once my horse is completely and thoroughly rinsed I like to use a sweat scraper to remove all of the excess water. That way, my horse can start to dry while I work on their tail, legs and face!
Condition Tail & Wash White Legs
I like to combine the next two steps together! This gives me time to let the conditioner sit in my horse’s tail for a few minutes. This makes detangling much easier!
Once my horse is thoroughly rinsed, I apply a generous amount of conditioner to my horse’s tail throughout the ends. I do not apply conditioner to the dock of the tail at all. I love this Mane & Tail Conditioner and have been using it for many years!
I use the detangling tips I’ve learned in curly girl videos on youtube on my horse’s tail. Following this method (or parts of it) minimizes the breakage. I’ve dealt with matted knots in wavy, thick hair my whole life! And, I’m telling you, this works on my hair and my horse’s hair!
In fact, I’ve been using these techniques on my horses much longer than myself. But it’s a great way to reduce breakage and hair falling out!
Basically, you want to make sure the tail is absolutely soaking. As I apply the conditioner into the tail, if the tail seems dry at all or even damp, I like to add some water. Conditioner will be more effective if the hair is fully wet.
Once the hair is wet, put a generous amount of conditioner in your hands and rub your hands together a bit to warm it up, you’ll find it goes a lot further if you do this. (side note, I started doing this with hair gel and curl cream too and it makes life way easier!)
Massage the conditioner into the tail gently and then, leave it alone. Do not, start detangling yet! Let the conditioner sit for 5-10 minutes while you wash your horse’s white legs.
How To Get White Legs White When You Bathe Your Horse
I use Quicsilver bluing shampoo, and I follow the instructions on the label. That said, there are lots of similar products on the market.
Rinse your horse’s white legs and apply a small amount of shampoo to a sponge. Next, scrub your horse’s legs with the shampoo until the shampoo turns white. If you let it sit on white hair while it is a dark purple color, it can stain your horse’s legs purple! So keep on scrubbing until it’s completely white!
Then, let it sit! And while it’s sitting? You got it! Time to detangle your horse’s tail! Gently separate your horse’s tail into sections and detangle the knots carefully with your fingers. Do NOT brush them out!
Don’t rush, just take your time and start at the outside of the knots untangling small pieces at a time. Eventually, the knot will melt right out. And, if you are using a good quality conditioner and applying it correctly, detangling doesn’t take too long.
Next, thoroughly rinse the bluing shampoo off your horse’s legs and inspect them for any missed purple spots. Take a minute to admire how white the hair is knowing that it just won’t look as good ten minutes later. Naturally, your horse will kick up dust as you walk back to his stall!
Once your horse’s legs are rinsed and tail detangled, thoroughly rinse your horse’s tail.
Again, it is super important to rinse ALL of the product out of your horse’s tail!
Washing Your Horse’s Face
Next it’s time to get my horse’s face clean. Anytime you bathe your horse, you should always UNTIE your horse before you wash their face!
In the event that your horse gets scared or simply does not like having their face washed, you don’t need any accidents.
Some of my horses are totally cool with having the hose gently wet their face. If your horse will tolerate it, it’s much easier to get the hair clean.
In fact, Beau loves it and takes the opportunity to drink out of the hose! It’s hysterical even though I always end up soaked!
If your horse will not allow you to spray their face with water, just use a clean sponge and clean water to wet their face. Try not to get any water in your horse’s eyes or ears no matter which method you prefer.
Some people do not use any shampoo on their horse’s face for fear of getting it in their eyes. In this case, just use a clean, wet sponge to wash their face with water.
Beau has a wide blaze, so I use just a tiny bit of shampoo on his blaze and rinse it off using a wet sponge and am very careful to avoid getting anywhere near his eyes.

Drying Your Horse
You’ve already gone over your horse with a sweat scraper at this point. So, depending on the weather, you can put a cooler on your horse to keep them warm while they dry or you can use some clean dry towels to dry them as much as possible.
If the weather is warm enough, then you can either let your horse graze in the sun or dry in their stall. But, if you want them to stay clean, don’t turn them out in a dirt paddock while they are wet. Your horse WILL ROLL!
Every horse rolls after a bath, so, if you’re preparing for a show you can keep them tied or on a leadline while they dry. It’s much easier to clean shavings off of dry hair!
I like to tie my horses near a hay net and water so they can munch while they’re drying off. At the same time, I’ll usually start banding their manes if I’m headed to a show.
Keeping Your Horse’s White Face Clean
I’m about to share a tip that I learned as a young kid from one of my first trainers.
You don’t want to put in all that elbow grease to bathe your horse just to get a stain on their face. So, once your horse is clean you will want to put a clean dry halter on them. If you don’t have a spare halter, you can still use this tip.
Take a face cloth or small towel and wrap it around the top part of the noseband on your halter. Keep the cloth wrapped around the halter while your horse’s face dries so that any dirt or build up on the inside of the halter does not rub on your horse’s face. Just be sure the towel is small enough that it does not dangle in your horse’s nose as they may become irritated!
I have to confess, I’ve been lazy a few times over the years and skipped this step. And…I have regretted it every, single, time!
I hope you’ve found this guide helpful! If you did, give it a share!
And, leave any tips and suggestions you have in the comments!
Check out these related articles!
The Best Way To Clean Your Horse’s White Spots!
How To Survive Your First Horse Show and What To Expect
How To Use Sugardine To Treat Thrush And Other Benefits
Daily Grooming Routine Your Horse Will Love!


